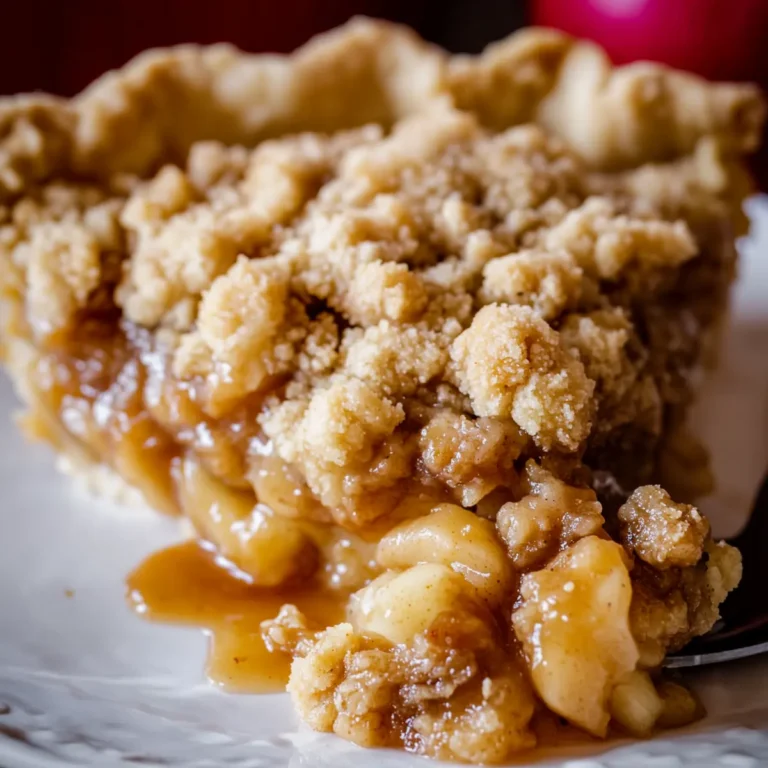
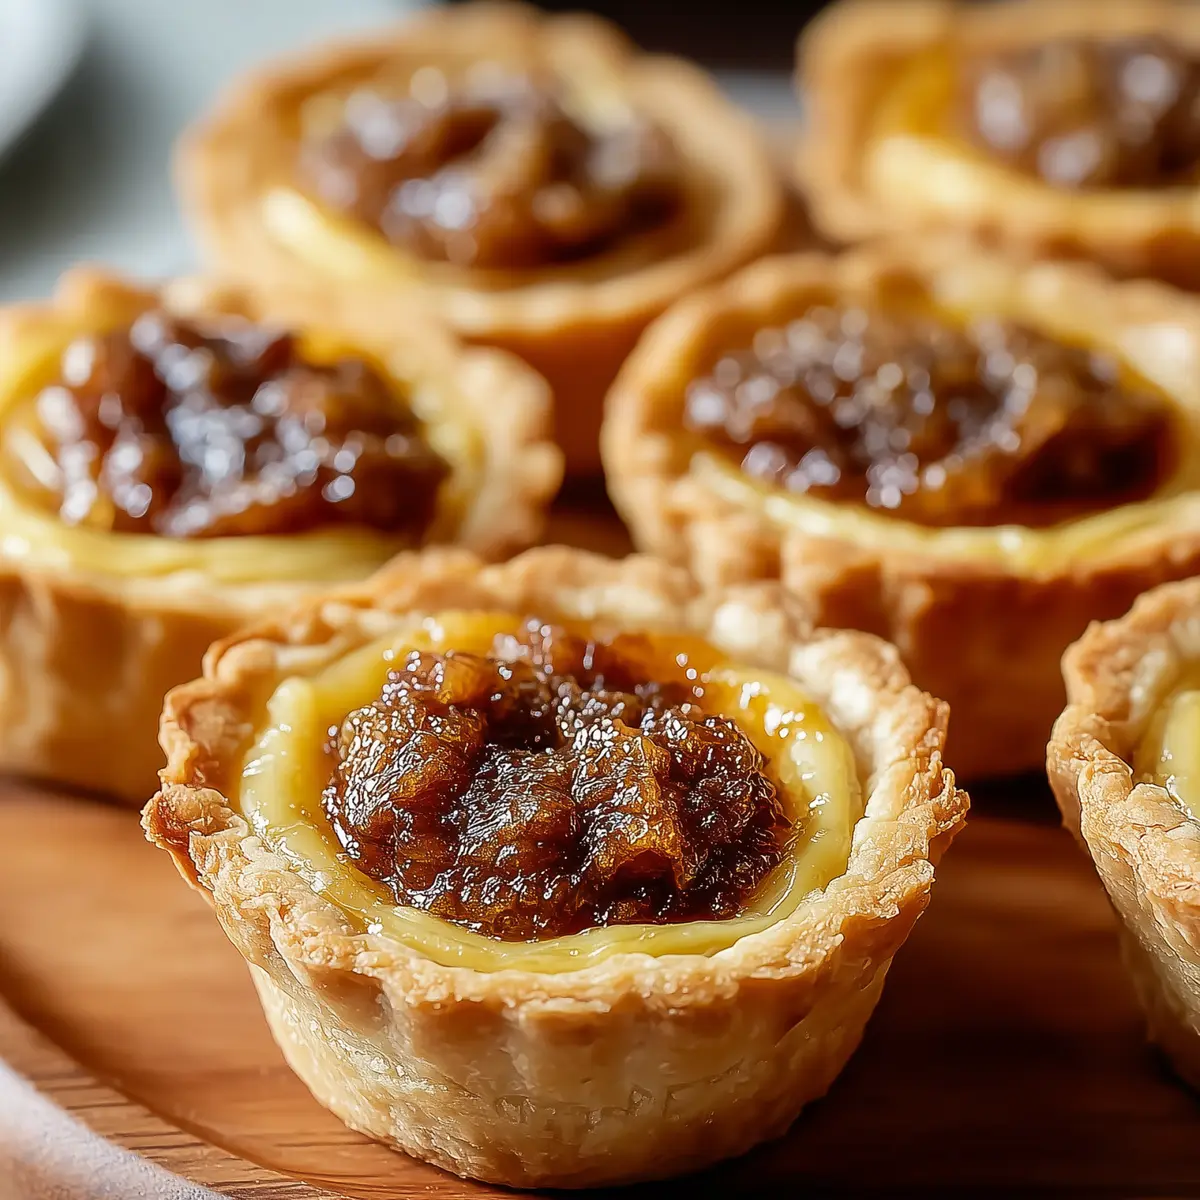
Classic Canadian Butter Tarts: A Cozy Dessert Recipe
Some desserts just have a way of making the kitchen smell like home. The rich aroma of butter mingling with sugar, the anticipation of warm pastry, and the short wait for that first gooey bite—all those comforts come bundled in a batch of Classic Canadian Butter Tarts. You know how sometimes you crave something sweet but not fussy, a dessert that delivers pure nostalgia and satisfaction without any complications? That’s the magic these butter tarts bring.
It’s the kind of treat that never overstays its welcome on the counter. Whether you’re pulling them together for weekend guests or sneaking an extra one when no one’s looking, classic butter tarts are all about that sweet, slightly crisp top and ridiculously gooey center. There’s just nothing quite like breaking through that shatteringly flaky crust to the silky filling below.
The Cozy Charm of Classic Butter Tarts
Classic Canadian Butter Tarts aren’t just dessert—they’re tradition. This recipe brings together everything you want in a cozy sweet: a crisp, golden pastry shell and a lusciously gooey filling that clings to your fork (and maybe your fingers, too). They’re perfect for celebrations big or small, or just for sneaking a little sweetness into a regular weekday.
Part of the beauty here is how simple and unfussy they are. No hard-to-find ingredients, no fancy equipment. You get a treat that’s addictively buttery and just sweet enough, with that irresistible caramel-like center. Throw in a handful of raisins or pecans for some family-friendly variety, or keep it totally classic for pure sugary bliss.
Inside the Tart Pan: The Ingredient Breakdown
Let’s talk about what goes into these tarts—this is where the cozy flavor starts.
- Flour: the backbone of that crumbly, delicate crust.
- Unsalted butter: delivers rich flavor and helps create those flaky pastry layers you love.
- Granulated sugar: adds classic sweetness and ensures the filling sets with a subtle crisp.
- Brown sugar: brings a deeper caramel note and that beautiful golden color to the mix.
- Eggs: help the filling get dreamily silky while adding structure.
- Vanilla extract: rounds out the whole dessert with gentle warmth and complexity.
- Salt: just a pinch sharpens all the other flavors and balances the sweetness.
- Pecans or raisins (optional): add chewy or nutty pops, depending on what you’re in the mood for.
See the recipe card below for the full list of ingredients and measurements.
Swapping and Upgrading: Ingredient Ideas for Every Taste
Don’t panic if your pantry isn’t fully stocked, or if you want to make these butter tarts your own. Swap unsalted butter for salted and simply dial back the salt a little. For a nut-free version, skip the pecans; if raisins aren’t your thing, try chopped dried cherries or leave them out completely.
Craving a deeper flavor twist? Dark brown sugar adds even more caramel notes, or whisk in a little maple syrup for a true Canadian touch. You could even toss in a handful of chocolate chips for those moments when you want a chocolatey take on this beloved classic. Butter tart addicts (you know who you are) sometimes get creative and sneak coconut flakes or other toasted nuts into the filling. It’s a recipe that’s ready to flex with your craving.
Easy Swaps and Delicious Twist Ideas
Classic Canadian Butter Tarts are endlessly adaptable, which makes them even more fun to bake. If you’re avoiding dairy, use a plant-based butter for the pastry and filling—but go for a good-quality one that’s made for baking, so you still get that classic crispiness. Don’t eat eggs? A flaxseed or chia seed “egg” works in a pinch for holding the gooey filling together, though the texture is a little different.
Prefer your tarts runny instead of set? Take them out of the oven just as the crusts start to brown, so the centers stay extra gooey (just be careful—the filling will be hot and a bit messy at first). For a deeper, slightly smoky taste, swap a bit of the brown sugar for molasses. And if you’re feeling adventurous, try mixing in orange zest, cinnamon, or toasted hazelnuts for a totally new profile while keeping all of that buttery goodness intact.
Making Butter Tarts: A Step-by-Step Guide
You don’t need to be a pastry chef to tackle these. Here’s how you bring it all together for the ultimate homemade treat:
- Preheat your oven, and start your pastry by blending cold butter into the flour and salt. When you see little pea-sized pieces, splash in icy water bit by bit until the dough just comes together—don’t overwork it, or you’ll miss out on those flaky layers.
- Roll out your dough on a floured surface until you can cut circles that will fit neatly into your muffin tin. Press each one gently into the tin, making sure it hugs the bottom and sides without stretching.
- Mix up the magic for your filling: whisk both the granulated and brown sugars with eggs, vanilla, and just a touch of salt until it’s all smooth and dreamy.
- If you’re choosing pecans or raisins, sprinkle them into each tart shell before ladling in the filling. This keeps extras suspended in every bite instead of pooling at the bottom.
- Bake until the pastry turns a gorgeous golden brown and the centers still wobble slightly when you nudge the pan—just a gentle jiggle. That’s the secret to keeping the middle perfectly gooey.
- Let the tarts cool in their pans for a few minutes, then transfer them to a wire rack. Enjoy them fresh and warm to catch that irresistible aroma, or let them cool off for a firmer, chewier center.
Secrets to Butter Tart Success
The real game-changer here is using cold butter for the dough. Dice it straight from the fridge to work quickly before it starts melting—this trick leads to that pastry shatter that makes you want just one more tart. Try not to handle the dough too much, or you’ll melt the butter and lose the flakiness.
If your kitchen runs warm, chill the pastry circles in the tin before baking. This helps avoid shrinking and gives you that perfect tart shell. For the filling, mixing by hand is better than with an electric mixer, so the texture stays silky (not airy). Finally, store your butter tarts in an airtight container at room temperature; they’ll hold up for a couple of days—if they last that long.
Pairings and Creative Variations
Butter tarts are just as welcome with afternoon coffee as they are as a dinner party dessert. Serve them straight from the tin or, for extra indulgence, pair with a scoop of creamy vanilla ice cream or a dollop of whipped cream—the contrast with the warm, gooey filling is pure joy.
If you’re sending them to a picnic or potluck, play around with fillings. Chocolate chips, dried fruit, or even a dash of maple syrup add a whole new twist. For holidays, sprinkle spiced sugar or drizzle melted chocolate on top after cooling. Butter tarts also freeze well: just wrap them individually, so you can sneak out a single portion whenever the urge strikes.
FAQs about Classic Canadian Butter Tarts
Can I make Classic Canadian Butter Tarts ahead of time?
Yes, you can bake them the day before and store them in an airtight container at room temperature. Let them cool before sealing to prevent sogginess and enjoy them either warm or at room temp.
Why do my butter tart fillings sometimes overflow or leak?
The most common reason is overfilling your tart shells or thin pastry walls. Keep the filling level just below the rim, and make sure the pastry is pressed evenly around each cup for the best results.
Do Classic Canadian Butter Tarts need to be refrigerated?
No, they’re best stored at room temperature if you plan to eat them in a couple of days. Refrigeration can make the pastry tough, but for longer storage, you can freeze them instead.
What’s the difference between runny and firm butter tart centers?
It all comes down to baking time and filling thickness. Bake a little less for a gooier center, or give them a bit more oven time for a chewier, firmer filling—totally up to your taste.
Final Thoughts on Classic Canadian Butter Tarts
Once you’ve tried homemade Classic Canadian Butter Tarts, it’s tough to settle for anything less. They bring together the best parts of dessert—flaky, buttery pastry and a gorgeously gooey center packed with sweet nostalgia.
Whether you like yours plain, packed with nuts, or brimming with plump raisins, there’s always a reason (and an excuse) to whip up another batch. One bite and you’ll understand why these little tarts are a beloved treat across Canada—and anyone who tastes them.
More Delicious Recipes
- Irish Shortbread: This buttery treat has a melt-in-your-mouth quality that butter tart lovers will appreciate.
- Lucky Charms Bars: A sweet, gooey dessert that brings a playful twist similar to the nostalgia of butter tarts.
- Irish Scones: These fluffy, buttery scones complement the comfort food vibe of classic butter tarts.
Classic Canadian Butter Tarts
Ingredients
Equipment
Method
- Preheat oven to 425°F (220°C). In a bowl, mix flour and salt; cut in cold butter until crumbly. Gradually add ice water to form dough.
- Roll out dough to 1/8 inch thick on a floured surface and cut circles to fit muffin tins.
- Place dough circles in greased muffin cups, pressing gently against the bottom and sides.
- In another bowl, whisk together granulated sugar, brown sugar, eggs, vanilla extract, and salt until smooth.
- Optionally add pecans or raisins into each tart shell before pouring the filling mixture.
- Bake for 15-20 minutes until edges are golden brown; centers should jiggle slightly.
- Cool on a wire rack and enjoy warm or cold.