No-Bake Oreo Cheesecake Bites: Easy Dessert Recipe
There are days when you just need a little something sweet—nothing fussy, nothing baked, nothing that overheats the whole kitchen. That’s exactly when these No-Bake Oreo Cheesecake Bites appear like little dessert miracles. They’re creamy, crunchy, impossibly rich without being heavy, and as easy to eat right out of the freezer as off a party platter. Every time I whip these up (usually when a craving hits at night), I wonder why I don’t make them more often—they come together so quickly, with each bite melting in your mouth and leaving you with that classic cookies-and-cream satisfaction.
The magic, honestly, is in the texture: cool, smooth cheesecake mingling with those snappy Oreo layers, and a barely-there hint of vanilla propping up the whole thing. These definitely don’t scream “healthier dessert” when you bite in—until after, when you realize you haven’t had to compromise flavor for lighter ingredients. I’ve made these for family birthdays, book clubs (because you honestly can talk more while eating bite-sized treats), and post-dinner “I need something now” sessions. Every batch disappears. Every single one.
That Moment When No-Bake Oreo Cheesecake Bites Steal the Show
There’s something undeniably exciting about bringing out a tray of No-Bake Oreo Cheesecake Bites. It doesn’t matter if you’re serving old friends or new neighbors—these are the first things everyone reaches for. They aren’t fancy, but that’s the real charm. People grin when they see the telltale black-and-white layers, and no one ever politely holds back. Every party has that moment when you catch someone sneaking a second (or third) because, frankly, restraint is pointless when you’re dealing with creamy cheesecake and classic Oreos in every bite.
It never fails—whether it’s a winter gathering when the oven is already full or a summer heatwave where you’d rather not bake at all, these cheesecakes just fit. They work for birthdays, Netflix nights, backyard BBQs, and as a sweet “thank you” gift dropped at a friend’s door. And when I make a batch just for myself (don’t judge), I swear they taste even better cold, eaten straight from the freezer with bare fingers, no plate required.
What You’ll Need to Make These Creamy Bites
When you look at the short ingredient list, you might do a double take. Can something so good come from so little? Apparently yes—especially if you love that classic cookies-and-cream flavor combo. Here’s what gives these bites their crave-worthy edge:
- cream cheese – forms the creamy, tangy backbone of the filling; go with fat-free for a lighter texture, or swap for full-fat if you want it extra indulgent.
- non-fat vanilla Greek yogurt – adds another layer of creaminess, with a subtle tartness to balance the sweetness; plain Greek yogurt works, but the vanilla makes the flavor pop.
- vanilla – a splash brings out all the cookie notes and smoothes over any sharp dairy flavors.
- salt – just a hint, to keep everything from turning one-note sweet; it rounds out the flavors, believe it or not.
- low fat cool whip – gives everything that light, mousse-like airiness and holds the cheesecake together; any light whipped topping is fine in a pinch.
- Oreo thins – provide the addictive chocolate crunch in every bite; using “thins” keeps the overall dessert from feeling too heavy, but regular Oreos work if that’s what’s open in your pantry.
See the recipe card below for the full list of ingredients and measurements.
How Everything Comes Together in No-Bake Oreo Cheesecake Bites
Putting these together takes less time than brewing your second cup of coffee, and the method is oddly satisfying. Each layer stacks into another, and everything’s so hands-on you feel like a dessert magician by the end.
- First, you’ll grab a muffin tin and nestle paper liners into each space. Trust me, using liners makes it much easier to pop out every single cheesecake bite later.
- Next, drop an Oreo thin in the bottom of each liner. That little cookie disk becomes your base, locking in the classic cookies-and-cream identity from the very first bite.
- In a medium bowl, beat the cream cheese (let it soften first) until it’s completely smooth—no lumps allowed. This step is where patience really pays off. The smoother it gets, the silkier your final cheesecake bites will be.
- Now add in the salt, vanilla, and the Greek yogurt. Mix again, making sure everything comes together in a glossy, pillowy blend. Don’t rush—slow mixing keeps your filling super creamy.
- Set aside 12 Oreos (crushed), and gently mix them into the cream cheese base. Tiny flecks and larger bits intertwine, peppering the creamy mixture with that Oreo flavor in every spoonful.
- Fold in the thawed cool whip with a spatula, using slow, swooping motions. You want to keep as much airy volume as possible, so avoid overmixing here.
- Scoop mounds of the cheesecake mix into each prepared liner, smoothing the tops if you like (though imperfect, puffy swirls look especially charming).
- If the day calls for drama, sprinkle extra crushed Oreos on top. Then—this part tests your patience—slide the tin straight into the freezer for a good three hours (long enough so the bites pop out whole and cold, not soupy or sticky).
The result is a batch of Oreo cheesecake bites you’ll find yourself checking on “just in case” before the timer’s done.
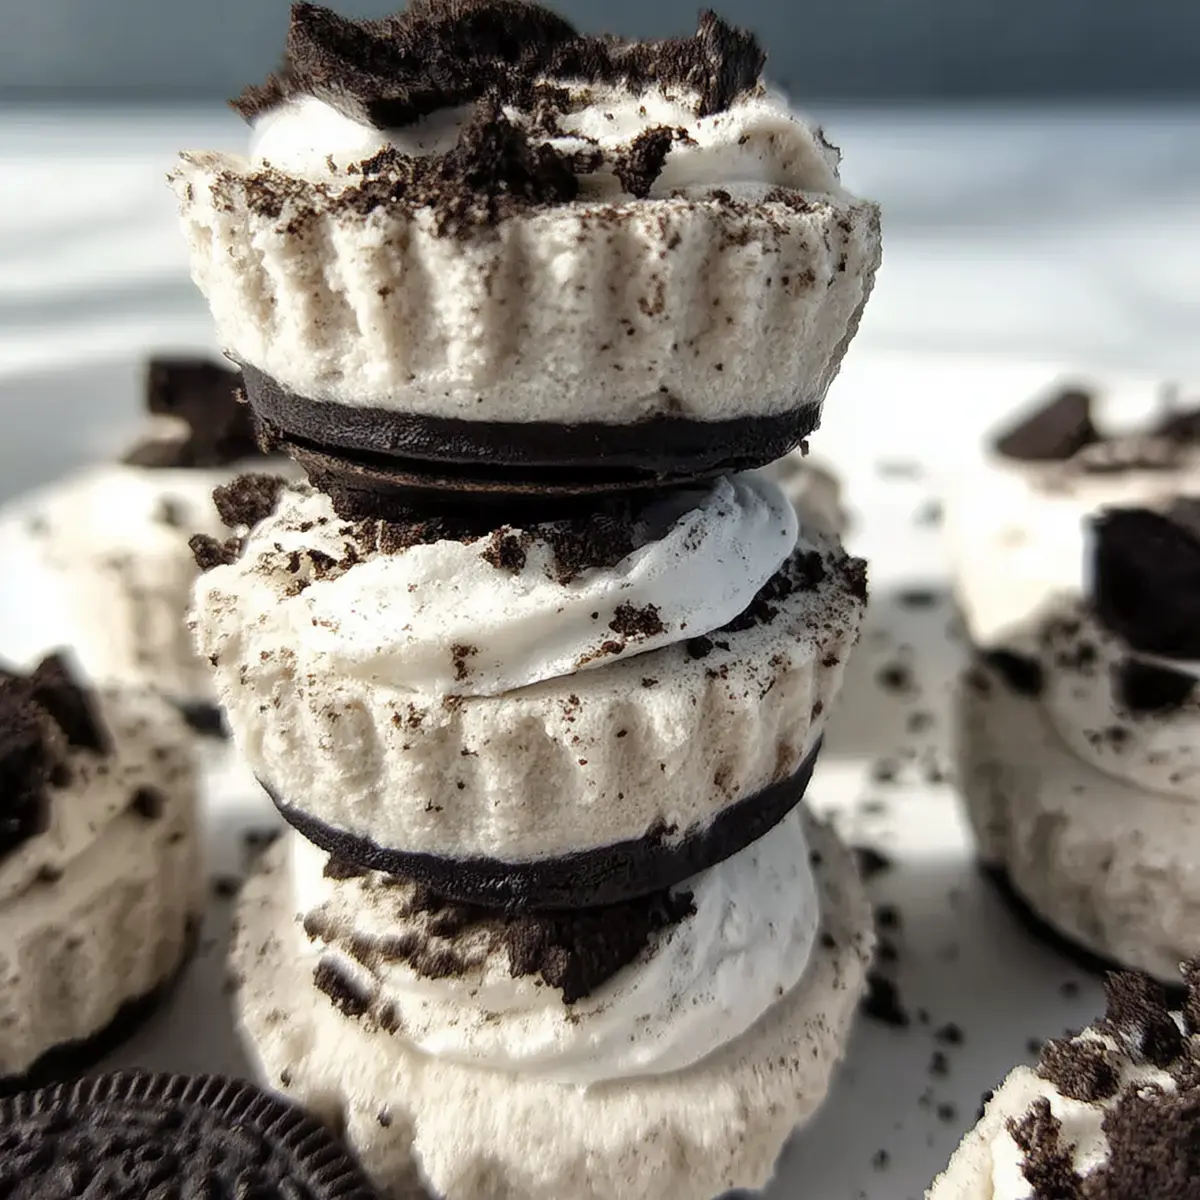
The Texture and Flavor That Keeps You Coming Back
There’s nothing one-note or monotonous about these little guys. The moment you sink your teeth in, the Oreo base cracks softly, yielding to a middle that’s cloud-like and creamy, with a cool tang from the cream cheese and yogurt. Hidden pops of Oreo run through the cheesecake layer, so you get a punch of chocolate flavor in just about every mouthful. The whipped topping brings an almost mousse-like quality—light, yet incredibly satisfying.
I’ve always been a fan of desserts that leave you wanting another taste, and these No-Bake Oreo Cheesecake Bites are dangerously moreish. They’re not too sweet, not cloying, but perfectly balanced—a little salty, a little tangy, a lot chocolatey. Each bite is a mix of cold creaminess and that signature dark, slightly bitter chocolate from the cookies. If you serve them right from the freezer they’re firm and extra-chilly, but after ten minutes on the counter, they soften to the perfect fork-able texture (if you can wait that long).
Little Details That Elevate These Oreo Cheesecake Bites
There are three or four small tricks that make these bites truly stand out. First, don’t skip softening the cream cheese before mixing—cold cheese means lumps, and nobody wants that. When folding in the whipped topping, use a gentle touch; over-mixing can flatten the filling and make the bites too dense.
If you don’t feel committed to Oreo thins, go classic, or even try flavored Oreos—mint or peanut butter can be surprisingly fun here. If you’re out of Greek yogurt, plain yogurt will do in a pinch, but you’ll miss a bit of that tangy backbone. For something extra fancy-looking, swap the liners for silicone molds to get a neater edge and cleaner release (though the paper variety still delivers plenty of charm).
Storage is a breeze—just keep them in a sealed container in the freezer so they stay ultra-cold. If you like a creamier bite, let them thaw at room temp for ten to fifteen minutes, and they take on an almost ice cream cake-like softness.
How to Serve No-Bake Oreo Cheesecake Bites for Every Occasion
No-Bake Oreo Cheesecake Bites are just as comfortable at a party as they are in your weekday lunchbox. Arrange them in a pyramid on a platter for a casual get-together—let folks pick with their fingers, no forks necessary. Dust them with extra cookie crumbs for a more rustic look, or swirl a little extra whipped topping on top for a “bakery style” finish. I like to serve them right from the freezer if it’s warm out; in chillier weather, give them a short rest at room temp so the filling loosens up into full creamy glory.
If you’re feeling ambitious, sandwich a bite between two thins and eat it like a mini ice cream sandwich. Pair with strong coffee or a glass of cold milk—either works. And for anyone thinking ahead: these travel astonishingly well and can be packed up for picnics, potlucks, or tucked into a gift box for a sweet surprise. Once you see how easy and versatile they are, you’ll find yourself dreaming up new reasons to make them all year round.
FAQs about No-Bake Oreo Cheesecake Bites
Can I make No-Bake Oreo Cheesecake Bites ahead of time?
Absolutely, and in fact, they’re even better when made a day ahead. Just assemble and freeze as directed, then transfer to a tightly sealed container once they’re fully frozen. They’ll keep their best texture and flavor when stored in the freezer until you’re ready to eat.
What’s the best substitute for Oreo thins in this recipe?
If Oreo thins aren’t on hand, regular Oreos work great—they just make each bite a little richer and more substantial. Chocolate graham crackers are another good option for a lighter, less-sweet crunch.
How should I store No-Bake Oreo Cheesecake Bites after freezing?
Once frozen solid, lift the cheesecake bites out of the muffin tin and tuck them into an airtight container or freezer bag. They’ll stay perfect for several weeks. For a softer edge, let them sit out for a few minutes before serving, but return leftovers to the freezer as soon as you can.
Can I freeze these bites with extra toppings or sauce?
You can! If you want to top them with more crushed Oreos, chocolate drizzle, or even caramel, do it before freezing so everything sets together. Wet toppings might soften the bites as they thaw, so keep that in mind when deciding how to serve.
There’s genuine joy in making a treat that feels decadent but skips all the fuss. These No-Bake Oreo Cheesecake Bites deliver cool, creamy satisfaction, with every bite layered in cookies-and-cream nostalgia. Whether you serve them for a crowd or sneak one from the freezer on a quiet night, you get all the flavor and texture of classic cheesecake, no oven required. Even after the last bite, you’ll probably linger just a moment longer—enjoying the chill on your fingers and the rich sweetness that only Oreos and cheesecake can bring together.
More Delicious Recipes
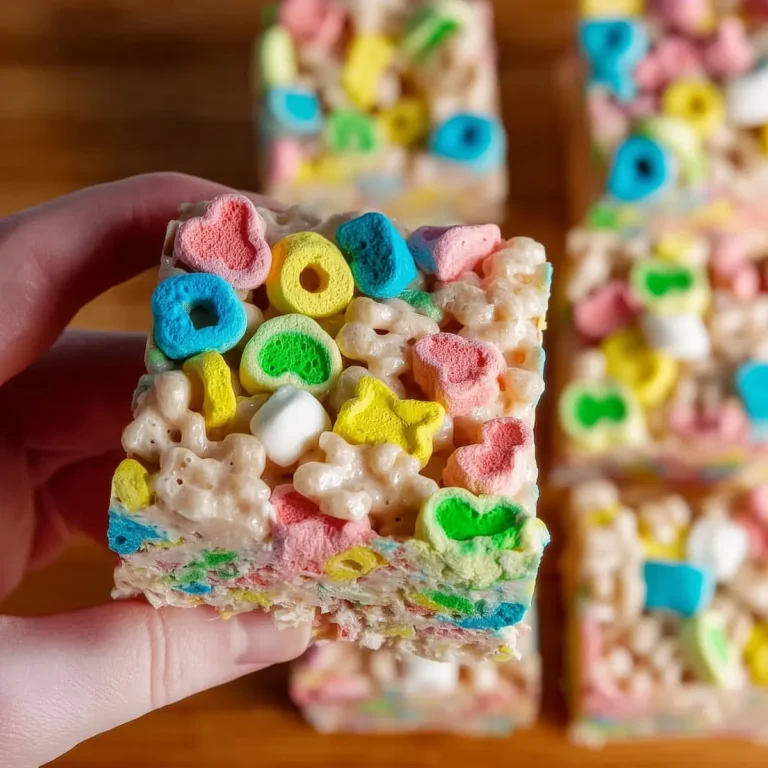
- Lucky Charms Bars: These sweet and chewy bars combine beloved cereal with a no-bake method, making them a delightful treat similar to Oreo cheesecake bites.
- Lucky Charms Cookies: A fun, no-bake cookie option that brings a nostalgic cereal flavor, perfect for satisfying your sweet tooth just like the cheesecake bites.
- St. Patrick’s Day Lucky Chow: This easy, no-bake treat is similar in simplicity and flavor, combining cereal and chocolate for a crunchy dessert experience.
Healthy No-Bake Oreo Cheesecake Bites Recipe
Ingredients
Equipment
Method
- Place 12 paper cupcake liners into a muffin tin.
- Add one Oreo thin to each liner and set aside.
- In a medium size mixing bowl beat softened cream cheese until smooth and creamy with a hand mixer.
- Add in salt, vanilla, and Greek yogurt. Continue beating until well combined.
- Pour in the remaining 12 crushed Oreos, and beat until mixed well.
- Fold in thawed cool whip until ingredients are combined.
- Evenly scoop cream cheese mixture into each liner and top with crushed Oreos, if desired.
- Freeze for 3 hours before serving. Enjoy!