Strawberry Nutella Poptarts: Indulge in Homemade Bliss
There’s just something wildly nostalgic and a little bit decadent about homemade Strawberry Nutella Poptarts, isn’t there? They’re the breakfast treat I turn to when I crave that classic Pop-Tart vibe—but want to skip the cardboard taste and off-putting sweetness of the boxed ones. I’ll admit, I grew up with those vividly frosted rectangles, sneaking them straight from the foil wrapper. But these? These poptarts actually taste like real pastry—tender, buttery crust, bursting with tart strawberry and Nutella melting into each other as they bake. The smell alone transforms my kitchen into a cozy bakery—one where rainbow sprinkles aren’t childish, they’re required.
Whether you’re making these for a lazy Saturday, a special brunch, or just need a pick-me-up after a rough week, Strawberry Nutella Poptarts never fail to feel a little magical. That moment when the pink-tinted glaze starts to set, glistening under a cascade of sprinkles, is pure kitchen therapy. And then, when you finally take a warm bite and the filling oozes against flaky pastry—yeah, this is why I bake.
When Homemade Poptarts Are the Highlight of the Morning
There’s honestly nothing like that first poptart you pull from the cooling rack—still warm, its pink glaze just barely set. It’s almost an event in my house. Even my friends who claim to be “savory breakfast only” people can’t resist sneaking one off the tray before I’ve taken photos. They’re a morning pick-me-up, a treat for the lunchbox, or (let’s be real) dessert after dinner. You don’t need a reason to make Strawberry Nutella Poptarts, but if you have one, it turns any day into something to look forward to. There’s a sense of celebration in every colorful, jammy, chocolate-filled bite.
The Ingredients That Give These Poptarts Their Playful Punch
- Flour – forms the backbone of the pastry, so use a plain white variety for the most tender, homemade crust you can get.
- Granulated sugar – adds sweetness, but also helps the dough crisp around the edges.
- Light brown sugar – there for a subtle caramelly undertone in the pastry that’s more interesting than using all white sugar.
- Salt – brings all the flavors forward and keeps the dough from tasting flat.
- Unsalted butter – cold and diced, this gives those classic, flaky pastry layers.
- Coconut oil (or vegetable shortening) – makes the pastry extra tender and keeps it from being too dense; swap with whatever solid fat you prefer.
- Ice cold water – helps hold the dough together without melting the butter or oil.
- Egg – brushed as an egg wash to get that gorgeously golden finish and seal the dough edges.
- Strawberry preserves – the jammy heart of every poptart; go for something with a little tartness and real fruit bits.
- Nutella – brings creamy, hazelnut-chocolate richness that floods the mouth when you bite in.
- Powdered sugar – transforms into a glossy, sweet glaze that sets up perfectly atop warm pastry.
- Heavy cream – used in the icing for a thick, smooth texture and rich flavor.
- Vanilla extract – adds a little warmth and depth to the icing.
- Red food coloring (optional) – just a drop or two makes the glaze pop with classic, happy color.
- Rainbow jimmies – honestly, is it a poptart without them? Adds crunch and instant nostalgia.
See the recipe card below for the full list of ingredients and measurements.
Building Your Own Strawberry Nutella Poptarts from Scratch
Ready to get a little flour on your hands and a whole lot of joy in your kitchen? Here’s how it all comes together:
- Start by making your dough: Toss together the flour, sugars, and salt in a food processor. Pulse in the chilled butter and coconut oil until the mixture looks like small, uneven pebbles—tiny bits of butter mean flaky pastry later.
- Transfer those crumbs to a big bowl and add ice-cold water one tablespoon at a time, gently working it in by hand. You’re looking for the dough to just come together, not be sticky or wet. Stop the moment it holds together and separate it into two disks.
- Wrap each disk in plastic and let them chill. At least two hours will do, but overnight if you want stress-free rolling. Cold dough is your friend here.
- When you’re ready for poptarts, dust a big sheet of plastic wrap with flour and roll out one dough disk into a big rectangle—think thin, but not see-through. Yes, it will resist you and might even tear; just patch any ragged bits with a drop of water and pinch them back together.
- Trim the edges to a neat rectangle, then slice into even rectangles. Gently peel them up (the plastic wrap helps a ton) and place on a parchment-lined baking sheet. Pop them in the freezer while you roll and cut the second disk. Keeping everything cold is what gives you those shattering, golden edges.
- Set your oven nice and hot. While it heats, whisk up an egg wash with a splash of water. Brush each poptart base with it to help things stick together.
- It’s time to fill—but don’t go wild. Plunk a scoop of strawberry preserves in the center of each rectangle, then a matching scoop of Nutella. Resist the urge to spread (it’ll ooze as it bakes).
- Drape each with a matching dough rectangle, pinching the edges all around, then pressing down with a fork for that classic poptart crimp. Don’t skip the fork—it’s old-school and it works.
- Brush again with egg wash for shine and poke a couple of small holes on top with your fork—steam needs an exit, or you’ll get blowouts.
- Bake until the pastries are firm and turning golden. You’ll know it’s go-time because the kitchen smells like warm pastry, fruit, and chocolate all at once. Don’t rush; the transformation happens in the last few minutes.
- Let the poptarts cool before you glaze. For the icing, whisk powdered sugar, vanilla, and cream together, drip by drip, until you’ve got an opaquely thick but spreadable glaze—never runny or grainy. A dash of red food coloring gives a pink blush if you want it extra fun.
- Spoon icing over each poptart, letting it dribble just a bit down the sides. Immediately sprinkle with jimmies—do not wait, or the glaze will set before they stick.
By the time you’re done, they’ll look and smell unreal, and that’s before you’ve even taken your first bite.
Texture, Flavor, and That First Forkful
This is where store-bought could never compete. The crust bakes up flaky, tender, and almost shatters when you take a fork (or, let’s be honest, your hands) to it. The filling strikes that sweet spot—literally—between punchy, fruity brightness and creamy, toasted Nutella. Every bite bursts with a little jam, a little chocolate, and buttery pastry, all wrapped up in that iconic pink glaze. The rainbow jimmies, unexpectedly, add a touch of crunch and a burst of playfulness on your tongue. Make the mistake of eating one warm and you’ll find the filling is almost molten. Honestly, is it possible to eat these without closing your eyes for just a second and grinning? I haven’t managed it yet.
Little Details That Make Every Poptart Just Right
A few things can take your Strawberry Nutella Poptarts from good to unforgettable. Keep your butter and coconut oil super cold—it’s crucial for flaky dough. If your kitchen’s warm, even chill your mixing bowl. Patching cracks in the dough with a dab of water saves you a world of frustration. Don’t overfill; bursting poptarts look rustic, but they’re a mess to glaze. Swap in raspberry or apricot preserves if you want something new, or use a different chocolate spread—the principle stays the same. Un-iced, they freeze beautifully—glaze after reheating. If you’re after brighter color, tweak the food coloring, but a blush of pink hints at the classic without going overboard. Honestly, taste the jam before it goes in—you want it tart, not syrupy-sweet.
For make-ahead: assemble the poptarts and freeze them, unbaked, on a tray. Once solid, tuck them in a bag and keep frozen for up to a month. Bake straight from the freezer, adding a couple of extra minutes to the oven time. Extra icing keeps covered in the fridge for a few days; give it a quick stir before spreading.
Serving These Poptarts for Maximum Cheer
There’s no wrong way to serve Strawberry Nutella Poptarts, but some ways definitely heighten the fun. They’re dreamy alongside strong coffee or a mug of tea, and if there are kids (or just folks who act like ‘em), let everyone frost and sprinkle their own. For gatherings, arrange them on a big platter—expect them to disappear in minutes. If you’ve baked ahead, reheat in a low oven to refresh the crust before glazing. I sometimes offer bowls of extra Nutella and jam for dunking—over the top, sure, but it’s a crowd-pleaser. If you want a true throwback, enjoy them still a little warm, straight from the baking sheet. And if there’s ever a time to eat poptarts for dessert, this is it—a scoop of vanilla ice cream on the side is all the excuse you need.
FAQs about Strawberry Nutella Poptarts
Can Strawberry Nutella Poptarts be made ahead and frozen?
Absolutely! You can assemble the unbaked poptarts, freeze them on a tray until solid, then transfer to a bag and keep frozen for up to a month. Pop them straight into the oven from the freezer, just add a few extra minutes to the baking time—glaze and sprinkle once cooled.
What can I use instead of Nutella or strawberry preserves?
Feel free to get creative with the filling—raspberry or apricot preserves offer a tangy contrast, and any chocolate spread works well in place of Nutella. Even peanut butter or almond butter combined with jam is a fun twist.
How should I store leftover Strawberry Nutella Poptarts?
Once completely cooled and glazed, keep the poptarts in an airtight container at room temperature for up to two days. For longer storage, tuck them into the fridge for up to five days—the crust stays best if they’re reheated gently before serving.
Is it possible to reheat glazed poptarts without ruining the icing?
Yes, but go gentle—pop them in a low oven, around 120–140°C, for just a few minutes until warmed through. Microwave reheating softens both the pastry and the icing, so the oven is worth the minor wait for the best bite.
When you make these Strawberry Nutella Poptarts, each bite lands somewhere between grown-up pastry and the sweet memories of breakfast gone by. The flaky crust hugs that duo of bright strawberry and rich, melty Nutella in a way that puts the supermarket variety to shame. Whether enjoyed fresh from the oven on a lazy Sunday or pulled from the freezer for a last-minute treat, these poptarts promise a hit of color, comfort, and a little mischief. If you’ve ever wished breakfast could double as dessert, this is your reason to roll out that dough and get baking.
More Delicious Recipes
- Irish Scones: These delightful pastries share a similar homemade feel and can be enjoyed warm, just like your poptarts.
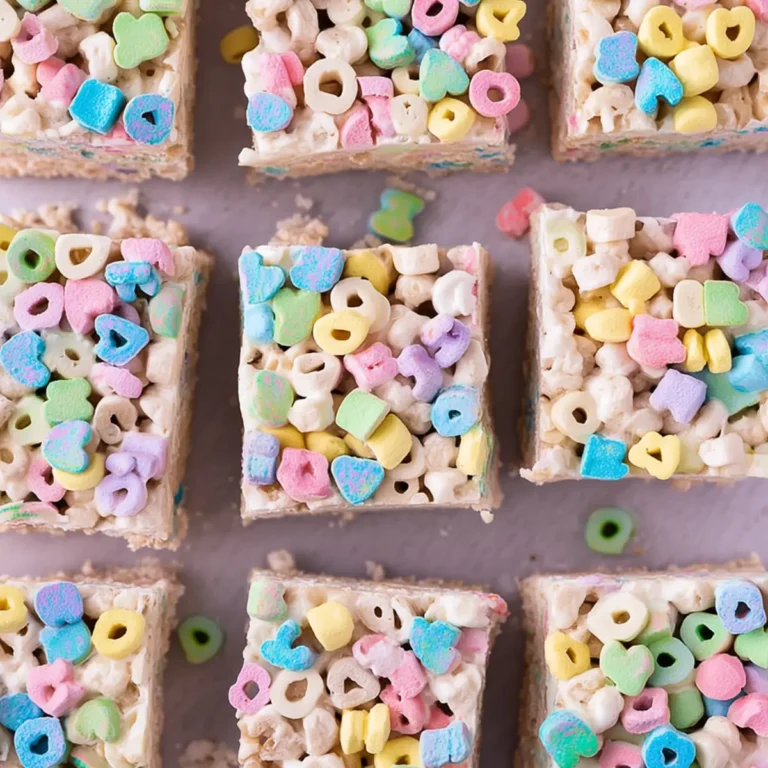
- Lucky Charms Bars: If you love colorful, sweet treats, these bars bring that nostalgic vibe similar to the poptarts you enjoy.
- Irish Potato Bites: These savory bites offer a fun and easy snacking option, perfect for balancing out your sweet poptarts.
Ingredients
Equipment
Method
- In a food processor*, pulse together the flour, sugars, and salt. Add in the chilled butter and coconut oil, and pulse again until the mixture resembles coarse crumbs.
- Pour into a large mixing bowl and slowly (1 tablespoon at a time) add in the ice water, mixing with your hands between each addition. Work fast as to not melt the butter and oil into the dough. Your goal is to keep everything as cold as possible! Stop adding water as soon as the dough comes together.
- Separate the dough into two oval disks and wrap in plastic wrap. Allow to chill in fridge for at least 2 hours, or overnight.
- Remove one of the doughs from the fridge. Place a large piece of saran wrap over a work surface, then sprinkle flour over it. Flour a rolling pin. Working quickly over your saran wrap, roll the dough out into a 10"x13" rectangle. It will be difficult and the dough will be very thin, but you can do it! If your dough begins to break, use a drop of water to seal it back together again.
- Using a ruler and a pizza dough cutter, cut your 10"x13" rectangle into a perfect 9"x12" rectangle. Then, cut your rectangle into 9 equal pieces, each 3"x4".
- Lift a corner of the saran wrap up off of your surface to help gently release the 3"x4" rectangles from their place. Transfer to a large, parchment-lined baking sheet, leaving as little as 1/2 inch between each rectangle. Once all 9 rectangles are moved onto the baking sheet, place the sheet in the freezer while you repeat the rolling & cutting process with the second half of the dough (using a new piece of saran wrap, of course!).
- Once all of your dough is cut, preheat your oven to 350°F.
- Remove the baking sheet from the freezer. Whisk an egg with 1 tablespoon of water, creating an eggwash. Brush each of your 9 poptart bases with the wash. This will help the dough to stick together!
- Get out the preserves & nutella. Spoon around 2 teaspoons of preserves into the center of each poptart base. No need to spread it around. Spoon the same amount of nutella on top.
- Place the remaining dough over the base & filling of the poptart, like a blanket. Press down slightly with your fingers to help seal the dough together. Then, using a fork, create indentations around the entire poptart.
- Brush the remaining eggwash over the poptarts, then use your fork to create small airholes on the top. Bake for 30 minutes, then allow to cool completely.
- While the poptarts are baking, make your icing! Whisk together the powdered sugar with vanilla extract and heavy cream, adding 1 tablespoon of cream at a time. You’re looking for a thick but spreadable consistency (it shouldn’t look grainy at all). Add the food coloring, if using. Once the poptarts are cooled completely, spread the icing over the poptarts, then sprinkle with jimmies!