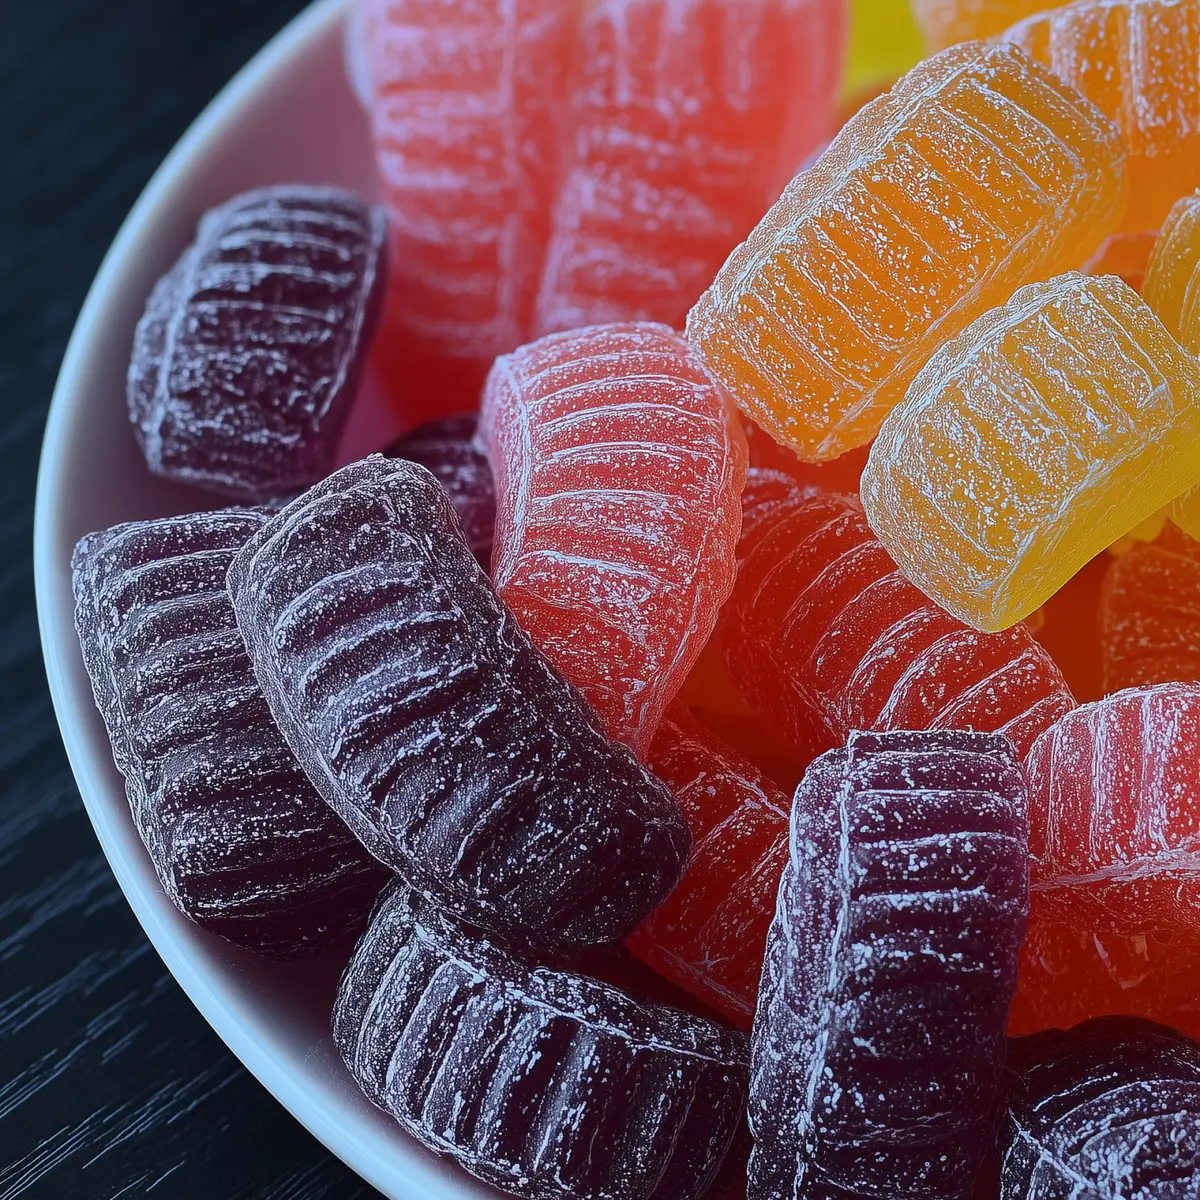
Homemade Kool-Aid Licorice: A Fun and Chewy Treat
If you love a chewy, fruity treat that’s equal parts nostalgic and creative, Homemade Kool-Aid Licorice is going to become one of your favorite kitchen projects. With just a handful of pantry basics and your pick of vibrant Kool-Aid flavors, you’ll have a tray of homemade licorice strips that are unbeatably fresh and fun—and way easier than you might guess.
What really grabs you about this recipe is how customizable the whole process is. You pick the flavor and the level of tang (add a bit of citric acid if you like it sour), then watch the mixture go from shimmering liquid to a bouncy, glossy candy that’s so much better than anything wrapped in cellophane at the store. Every time I make these, the burst of sweet-tart aroma makes the whole kitchen smell like childhood summers.
Easy tools for making homemade licorice at home
You’ll only need a few basic tools to pull off this recipe, and chances are you already have them on hand:
- Saucepan – For dissolving the sugar and cooking the mixture to a glossy, uniform consistency.
- Spoon or Spatula – To stir constantly and keep the mixture moving while everything dissolves together.
- 9×13 Inch Baking Pan – Lightly greased, this is where the licorice sets before you cut it into strips.
- Knife – For slicing your finished licorice into strips, twists, or shapes once firm.
No candy thermometer, fancy cutters, or special pans needed—just real, workable basics.
Kool-Aid licorice ingredients that bring the flavor
- sugar – The sweet backbone of your licorice, giving it that irresistible chewy body.
- Water – Helps dissolve and blend everything, making the mixture easy to pour and set.
- Kool-Aid (any flavor) – The star flavor and color; think grape, cherry, blue raspberry, or whatever you’re craving.
- Unflavored Gelatin – Makes the licorice chewy and flexible; absolutely key for the texture.
- Citric Acid (optional) – Add this if you want a punchier, sour kick to your candy.
See the recipe card below for the full list of ingredients and measurements.
Step-by-step: how Homemade Kool-Aid Licorice comes together
- Combine the sugar and water in your saucepan. Stir gently over medium heat until you see shimmering bubbles and the sugar dissolves completely. It will look clear and smell sweet—don’t rush this part!
- Sprinkle in the Kool-Aid and gelatin. Keep stirring constantly as the mixture starts to take on that bright color and the gelatin fully melts in. You want a smooth, glossy mix with no lumps.
- Add citric acid if you want extra sourness. Stir until everything is completely uniform, tasting as you go if you’re after that sour edge.
- Pour the hot, thickened mixture into your lightly greased 9×13 inch pan. It should spread out smoothly and settle with a shiny surface.
- Chill in the refrigerator for at least 2 hours, or until the candy is firm to the touch and easy to lift from the edges with a spatula or knife.
- Cut into strips, twists, or shapes—whatever looks fun! Your homemade licorice should be flexible, chewy, and bright with Kool-Aid flavor.
Tips, troubleshooting, and helpful candy cooking advice
Making homemade licorice is straightforward, but a few small tweaks can make a big difference:
- If your mixture is grainy, the sugar probably didn’t dissolve fully. Be patient and stir until the syrup goes clear before adding gelatin.
- Gelatin clumping or lumps can happen if you add it all at once or to liquid that’s not hot enough. Sprinkle it in slowly and stir steadily.
- Licorice won’t set? Let it chill a bit longer, or check that you used enough gelatin. The candy should feel bouncy and hold a strip shape easily.
- Sticky pieces after cutting? Give them a minute at room temp before handling, or dust lightly with cornstarch (optional) if prepping for a big crowd.
The first time I made a tray, I got a little too enthusiastic with the Kool-Aid… the smell alone was so intense I just couldn’t resist tasting before it fully set. Lesson learned: patience pays off here!
Pairing ideas and flavor variations for your licorice
Homemade Kool-Aid Licorice is all about playfulness—so go wild with serving ideas and tweaks:
- Mix and match flavors: Make batches with different Kool-Aid packets for a rainbow effect or flavor medley.
- Sour fans: Use that optional citric acid for a truly puckery twist—taste as you go to find your perfect level.
- Dip and decorate: Melt a little chocolate to drizzle or dip one end of each strip, or sprinkle with colored sugar before they set.
- Cut out shapes: Use small cookie cutters for hearts, stars, or bites—kids absolutely love these custom treats.
- Pair with simple snacks: Serve alongside popcorn, fresh fruit, lemonade, or classic cookies for a bright, fun dessert board.
Don’t be surprised if a batch of these vanishes at your next movie night.
FAQs about Homemade Kool-Aid Licorice
Can I store Homemade Kool-Aid Licorice for later?
Absolutely! Once cut, stash your licorice in an airtight container in the fridge. It’ll stay chewy and flavorful for up to a week. Line between layers with parchment so the strips don’t stick together.
Is it possible to swap the gelatin in Homemade Kool-Aid Licorice?
This recipe relies on unflavored gelatin for that signature chew, so there’s no direct plant-based swap in the original version. Agar-agar might set it, but the texture won’t be quite the same—if you experiment, use small test batches.
Can I freeze the finished licorice strips?
It’s not generally recommended, since freezing can change the chewy texture and cause weeping or stickiness when thawed. For best results, enjoy your licorice fresh or store chilled, but not frozen.
Make your own Homemade Kool-Aid Licorice soon
There’s nothing quite like pulling a pan of freshly set Homemade Kool-Aid Licorice from the fridge, the jewel-bright strips ready to twist and taste. Each bite is firm yet tender, bursting with playful fruit flavor that feels both retro and brand new. When you want a treat that’s bound to surprise and delight, especially with kids or at parties, make a batch and let everyone tear off a piece. It’s sweet, chewy, and pure homemade fun.
More Delicious Recipes
- St. Patrick’s Day Snack Board: This colorful snack board is perfect for serving alongside your homemade licorice during festive gatherings.
- Lucky Charms Bars: These sweet and chewy bars complement the playful flavors of your Kool-Aid licorice.
- Lucky Charms Rice Krispies Treats: This fun, nostalgic treat pairs well with your homemade candy for a charming dessert spread.
Homemade Kool-Aid Licorice
Ingredients
Equipment
Method
- In a saucepan, combine sugar and water. Bring to a boil over medium heat, stirring until sugar is dissolved.
- Add Kool-Aid and gelatin. Stir constantly until gelatin is completely dissolved.
- If desired, stir in citric acid for extra sourness.
- Pour mixture into a lightly greased 9x13 inch pan. Let set in the refrigerator for at least 2 hours, or until firm.
- Cut into strips or desired shapes and enjoy!