Classic Cream Cheese Danish: Perfect Pastry Recipe
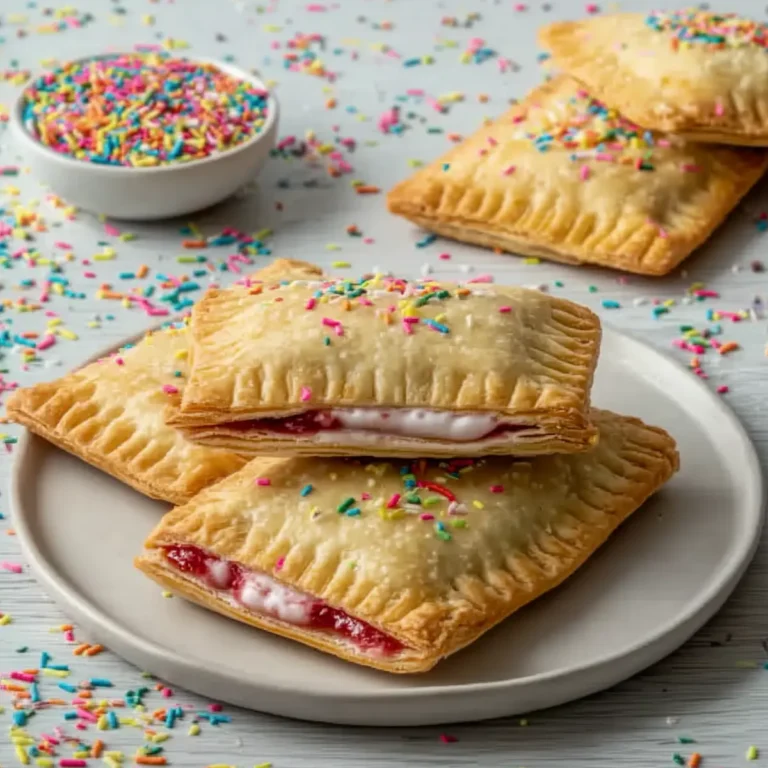
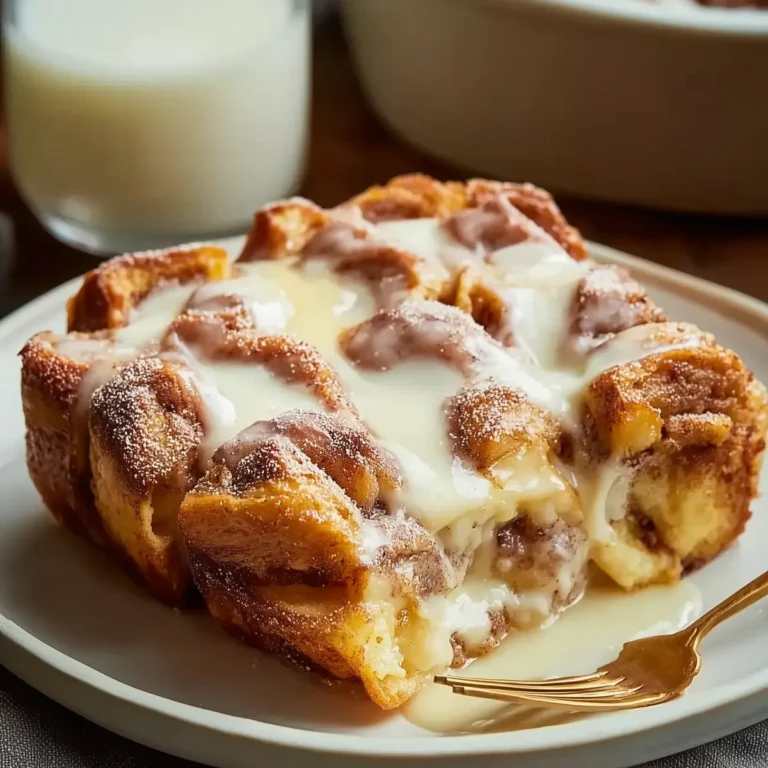
There’s something unbeatable about biting into a Classic Cream Cheese Danish—the flaky, golden pastry giving way to a creamy, slightly tangy filling, all crowned with a shiny drizzle of vanilla glaze. Whether you’re after a treat for weekend brunch or just need a sweet moment with your afternoon cup of coffee, this Danish delivers buttery comfort and pastry-shop vibes right from your home kitchen.
What I love about making these from scratch is the aroma swirling through the kitchen while they bake, filling the air with buttery warmth and a hint of vanilla. The simple steps and rewarding results make this classic bakery delight truly accessible—one you’ll return to for holidays, gatherings, or just out of sheer craving.
Wake Up to Bakery Perfection: Essential Tools for Danish Success
You don’t need a fancy bakery setup to turn out an irresistible Classic Cream Cheese Danish. Just a few reliable tools will help you get that crisp, golden pastry and creamy filling:
- Electric mixer – Perfect for whipping the filling until smooth and airy.
- Large mixing bowl – You want enough space to cream ingredients without splatter.
- Rolling pin – For gently rolling out the puff pastry to the right thinness.
- Baking sheets – Two large ones will give you room for all 12 pastries to bake evenly.
- Parchment paper – Keeps your puff pastry from sticking and helps with easy cleanup.
- Small sharp knife – For scoring that signature Danish border on each square.
- Fork – To dock the pastry so the centers don’t puff too high.
- Small bowl + pastry brush – For mixing and applying the egg wash for shine.
- Wire rack – Where your baked Danishes can cool and stay crisp.
All the Right Ingredients for Authentic Cream Cheese Danish Flavor
These simple, recognizable ingredients create the iconic blend of flaky, creamy, tangy, and sweet in every Classic Cream Cheese Danish.
- cream cheese – The rich, tangy base for the filling; use full-fat for maximum flavor and silkiness.
- Granulated sugar – Adds sweetness to balance the cream cheese.
- Egg yolk – Enriches and thickens the filling, making it lush and velvety.
- Vanilla extract – Brings classic bakery warmth and aroma to both filling and glaze.
- All-purpose flour – Just a touch gives body and stability to the filling.
- Lemon zest – Optional, but lifts the flavor with delicate brightness.
- Puff pastry – The secret to flaky layers and buttery flavor—let it thaw before unrolling.
- Egg – Brushed on the pastry borders for gorgeous golden color.
- Water – Helps the egg wash loosen for easy brushing.
- Powdered sugar – Whips up easily into that signature sweet glaze.
- Milk or lemon juice – Thins out the glaze and gives it just the right pourable consistency.
See the recipe card below for the full list of ingredients and measurements.
Working with Puff Pastry: Step-by-Step to the Perfect Danish
- Beat the filling: In a large mixing bowl, use an electric mixer to beat the softened cream cheese until it’s completely smooth and creamy—look for no lumps and a glossy finish. This usually takes about 1–2 minutes.
- Add flavor and structure: Add granulated sugar, egg yolk, vanilla, flour, and (if using) lemon zest. Beat on medium speed until the mixture is light, fluffy, and evenly combined. Scrape down the bowl so nothing is left behind. Set the filling aside.
- Prep the oven and trays: Preheat your oven to 200°C. Line two large baking sheets with parchment paper so nothing sticks.
- Roll and cut the pastry: Lightly flour your work surface. Unroll one sheet of thawed puff pastry. If it’s not quite even, roll it out gently until it’s roughly a 25 x 30 cm rectangle. Use a sharp knife to cut the pastry into 6 squares (each about 10 x 12 cm). Repeat with the second pastry sheet for a total of 12 squares.
- Shape each Danish: Arrange the squares on your prepared baking sheets (leave a bit of space between each). With the tip of a small knife, lightly score a 1.25 cm border around the edge of each square, but don’t cut all the way through—this gives the edges that signature puff. Prick the center of each square a few times with a fork to help the center stay level while baking.
- Fill with cream cheese: Spoon 1 to 1.5 tablespoons of the prepared filling into the middle of each scored square, keeping it inside the border. Smooth gently with the back of the spoon.
- Egg wash for shine: In a small bowl, whisk together the egg and water. Use a pastry brush to lightly coat the pastry borders with egg wash only—avoid the filling. This helps with that golden, glossy finish.
- Bake until puffed and golden: Slide your trays into the oven and bake for 20–25 minutes. The pastry should be puffed up, deeply golden, and the filling set but still creamy in the center. If baking with two trays, swap them between shelves halfway through for even browning.
- Cool them down: Take the baked Danishes out and transfer to a wire rack so they cool completely. This helps the bottoms stay crisp.
- Whisk the glaze: While Danishes cool, make the glaze by whisking powdered sugar, 2 tablespoons of milk (or lemon juice), and vanilla extract until smooth. Adjust consistency—if it’s too thick, add more milk or juice a teaspoon at a time. If too thin, beat in a little more sugar. You want a glaze that easily drizzles.
- Drizzle and serve: Once the Danishes are cool, drizzle the glaze over each one in thick zigzags. Allow the glaze to set for a few minutes, then serve and enjoy.
Troubleshooting Classic Cream Cheese Danish: Texture, Filling, and Glaze
Baking a Classic Cream Cheese Danish is relaxing once you know what to watch for—here are solutions for the most common kitchen hiccups:
- Soggy bottoms? Make sure you cool Danishes on a wire rack as soon as they’re out of the oven. This lets air circulate and keeps the pastry crisp underneath.
- Uneven puff? If the Danish center puffs up too much, it’s likely the pastry wasn’t pricked enough with a fork. Dock each center several times before filling to prevent a domed middle.
- Filling leaking out? Keep the filling inside the scored border—if you go over the edge, it’ll ooze out as the pastry rises.
- Dough sticking? Work quickly with thawed (not warm) puff pastry, and make sure your surface is lightly floured. Sticking often means the dough is too warm or slightly wet.
- Glaze too thin or thick? Add liquid or powdered sugar in tiny increments—consistency is everything for a perfect drizzle that sets, not runs.
- No shine on edges? Don’t skip brushing the pastry borders with egg wash. It’s what gives bakery-style sheen and keeps the edges from looking dull.
Get Inspired: Creative Pairings and Cream Cheese Danish Variations
One of the best things about this Classic Cream Cheese Danish is how easily it slips into any breakfast or brunch spread—and how fun it is to adapt. Here are a few ways to serve and customize:
- Pair with: Hot coffee, cold-brew, or a pot of black tea; fresh fruit salad with citrus or berries; a side of Greek yogurt swirled with honey; or savory dishes like scrambled eggs for a sweet-and-salty combo.
- Add fruit: Spoon a layer of your favorite preserves (raspberry, apricot, blueberry) under or over the cream cheese filling before baking for a fruity twist.
- Nutty upgrade: Scatter a sprinkle of sliced almonds or chopped pecans on top of the glaze while it’s still wet for crunch and depth.
- Citrus twist: Use lemon juice as the glaze liquid for even more bright, fresh flavor.
- Festive touch: Add a hint of almond extract to the filling or use colored sprinkles/freeze-dried berries over the glaze around holidays or special mornings.
- Lighter version: You can omit or reduce the glaze if you like your Danish a little less sweet and sticky.
FAQs about Classic Cream Cheese Danish
Can I make Classic Cream Cheese Danish ahead of time?
Absolutely! You can assemble the Danishes (up to the point before baking), cover tightly, and refrigerate overnight. Bake them fresh in the morning for best results, or bake and cool then store airtight at room temperature for up to a day.
How should I store leftover Classic Cream Cheese Danishes?
Once fully cooled, keep Danishes in an airtight container at room temperature for up to a day, or refrigerate for 2–3 days. To keep the pastry crisp, reheat briefly in a moderate oven before serving.
Can I freeze these homemade Cheese Danishes?
Yes—freeze the baked (and fully cooled) Danishes in a single layer, then transfer to a bag or container and store for up to one month. Thaw at room temperature and crisp up in a 160°C oven for a few minutes; glaze after reheating if possible.
The Finishing Touch: A Warm Invitation to Enjoy
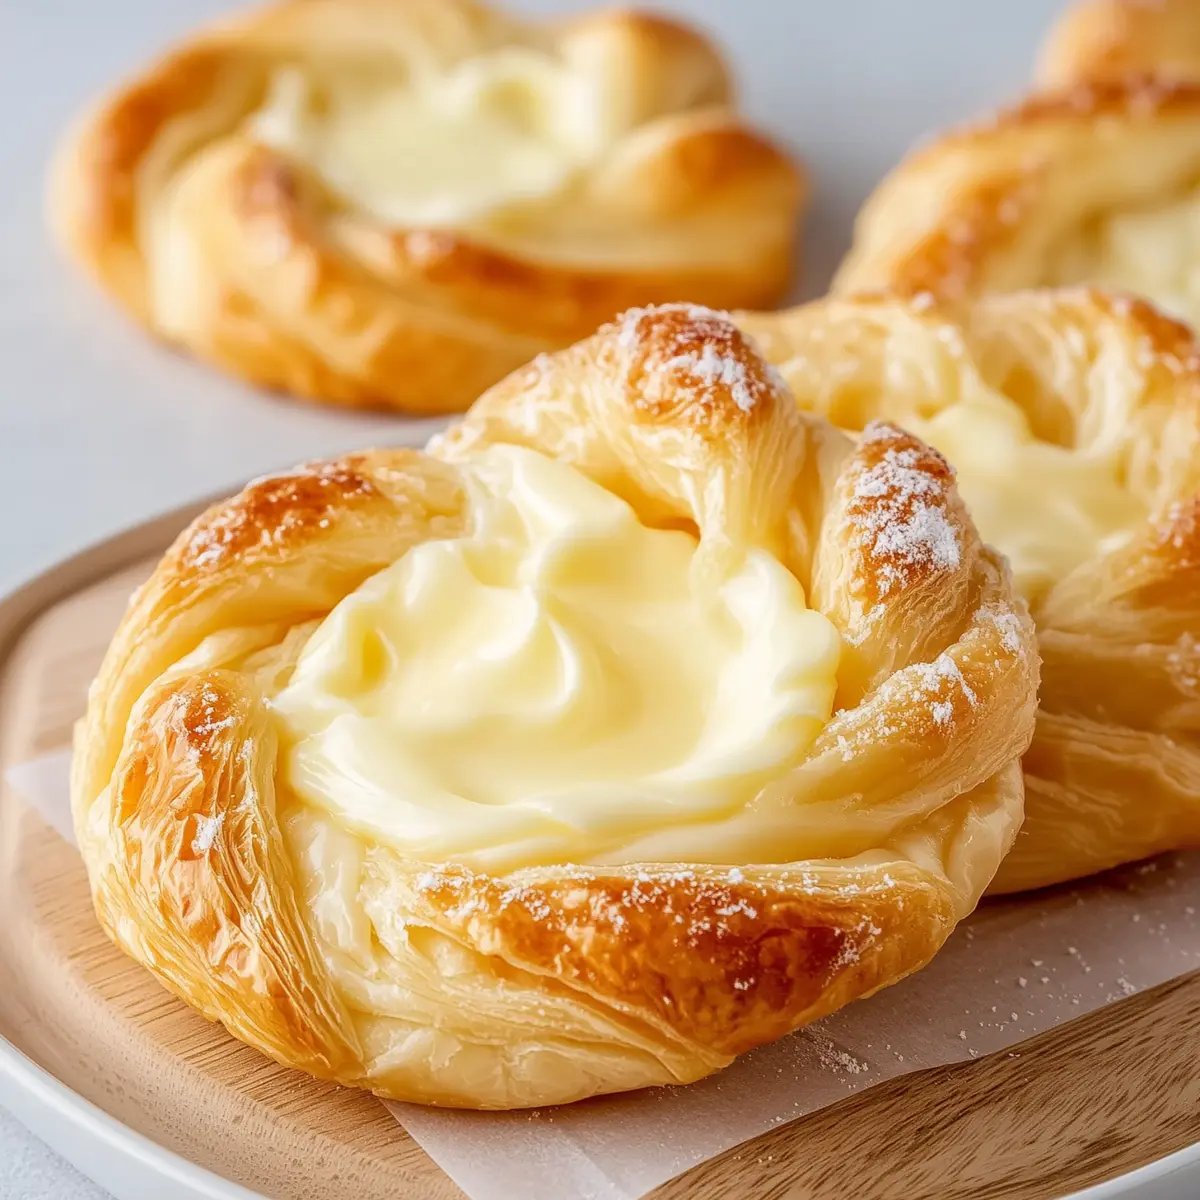
Every Classic Cream Cheese Danish brings together crisp, airy layers with a luscious filling and a snowy glaze, the kind of treat that wakes up your senses. Whether you have them as a weekend luxury or a weekday brightener, you’ll feel like you’re bringing home a little bit of the bakery. Let the warm, buttery aroma and creamy center invite you back for just one more bite—served fresh, these are crumbly, sweet, and impossible to resist.
More Delicious Recipes
- Irish Scones: Like the Classic Cream Cheese Danish, these scones are perfect for brunch or a sweet afternoon treat with a cup of tea or coffee.
- Irish Potato Bites: These savory bites offer a delightful snack option that pairs well with sweet pastries, making for a balanced brunch spread.
- Lucky Charms Bars: These sweet treats add a fun, colorful twist to your dessert table, making them a great complement to a creamy Danish.
Classic Cream Cheese Danish
Ingredients
Equipment
Method
- In a large mixing bowl, using an electric mixer, beat the softened cream cheese until smooth and creamy, about 1-2 minutes.
- Add the granulated sugar, egg yolk, vanilla extract, all-purpose flour, and optional lemon zest. Continue beating on medium speed until all ingredients are well combined and the mixture is light and fluffy, scraping down the sides of the bowl as needed. Set aside.
- Preheat your oven to 400°F (200°C). Line two large baking sheets with parchment paper.
- Lightly flour a clean work surface. Gently unroll one sheet of thawed puff pastry. If needed, use a rolling pin to lightly roll the pastry into a roughly 10x12 inch rectangle. Cut the pastry into 6 equal squares (approx. 4x5 inches each). Repeat with the second sheet of puff pastry, yielding 12 squares in total.
- Place the pastry squares onto the prepared baking sheets, leaving some space between them. Using a small sharp knife, lightly score a 1/2-inch border around the edge of each square, being careful not to cut all the way through the pastry. This will create a frame that puffs up higher than the center.
- Prick the center of each pastry square a few times with a fork to prevent it from puffing up too much. Spoon about 1 to 1.5 tablespoons of the cream cheese filling into the center of each scored square.
- In a small bowl, whisk together the large egg and 1 tablespoon of water to create an egg wash. Lightly brush the scored pastry borders with the egg wash. This will give them a golden, shiny finish.
- Bake in the preheated oven for 20-25 minutes, or until the pastry is puffed, golden brown, and the filling is set. If baking on two racks, rotate the baking sheets halfway through the baking time for even cooking.
- Once baked, remove the danishes from the oven and transfer them to a wire rack to cool completely.
- While the danishes are cooling, prepare the glaze. In a small bowl, whisk together the powdered sugar, 2 tablespoons of milk (or lemon juice), and vanilla extract until smooth. If the glaze is too thick, add more milk/lemon juice, a teaspoon at a time, until it reaches a drizzly consistency. If it's too thin, add a bit more powdered sugar.
- Once the danishes are cool, drizzle the glaze generously over each one. Let the glaze set for a few minutes before serving.