Candy Cane Marshmallows: A Festive Holiday Treat
A tray of Candy Cane Marshmallows doesn’t just look festive—it transforms your kitchen into a winter wonderland. The sweet aroma of peppermint drifts through the air as you swirl silky red streaks into freshly whipped clouds. These marshmallows aren’t just any holiday treat—they’re the bite-sized essence of December, equal parts nostalgic and playful, with a melt-in-your-mouth texture and those classic red and white ribbons you can’t help but admire. Whether you’re layering them atop mugs of hot cocoa, gifting them in cookie boxes, or sneaking “just one more” from the counter, you’ll notice how every cube captures the magic of the season.
What Makes These Candy Cane Marshmallows So Memorable
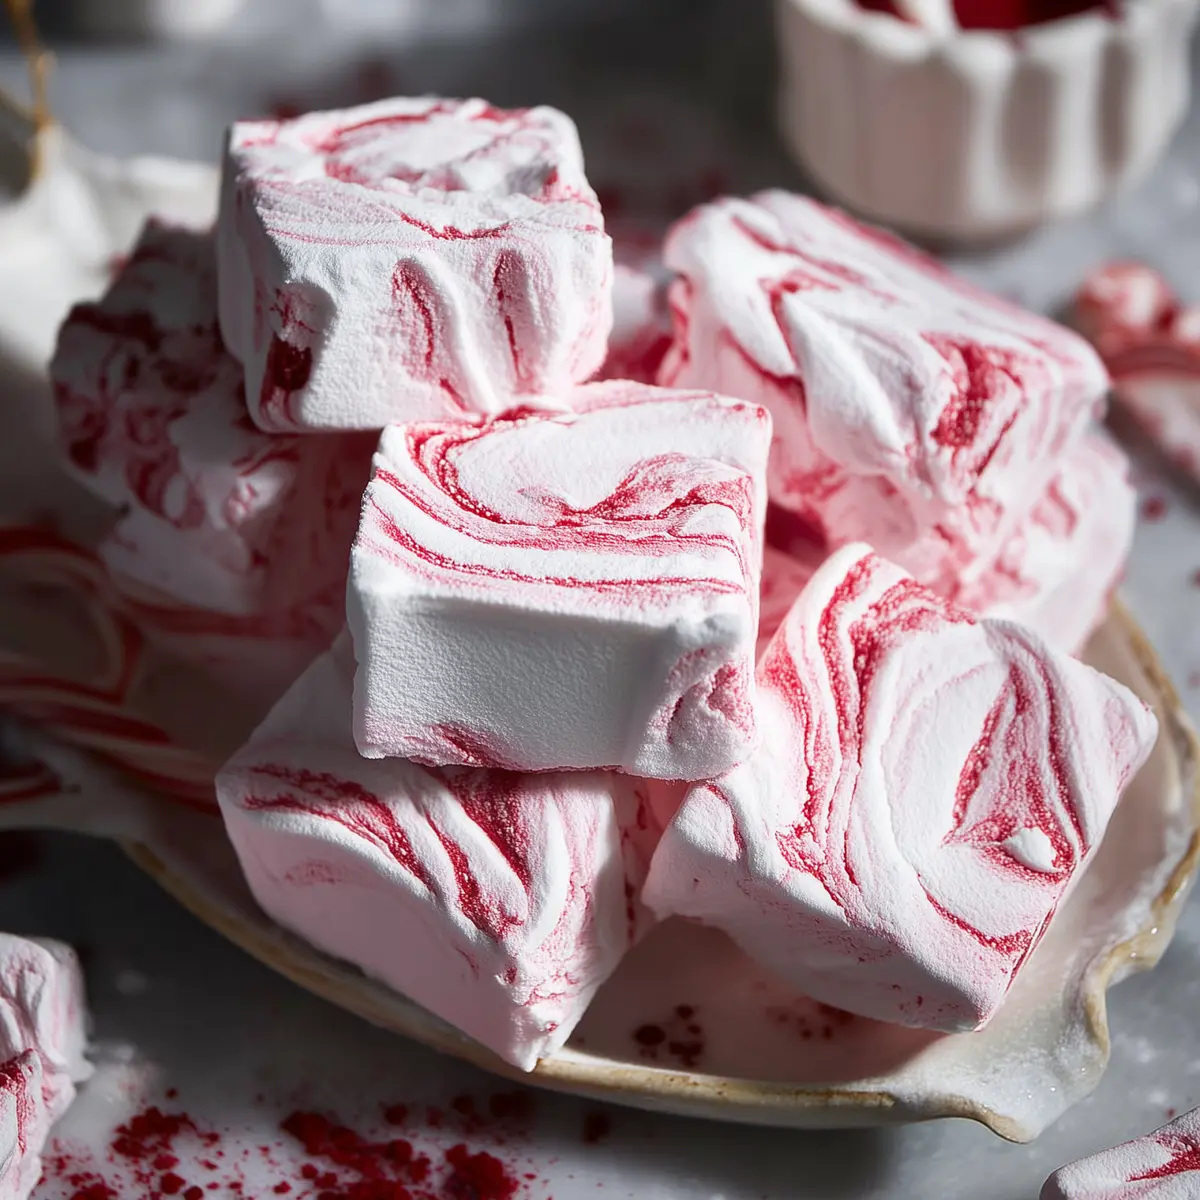
There’s something about homemade marshmallows that feels a little like kitchen magic—especially when you add the wintry spark of peppermint. These Candy Cane Marshmallows hit every nostalgic note, with their swirled red ribbons and clean, chilly burst of mint in every bite. They’re so much fluffier and more delicate than anything you’ll find in a bag, with a soft resistance that gives way to instant melt on your tongue. What really sets them apart is their stunning festive finish; the moment you cut into that pan and reveal the swirling red and white, you know holiday treats don’t get more joyful than this.
Bring these out at a cookie exchange, wrap them up for edible gifts, or set out a plate when friends drop by for cocoa—they always draw a crowd. And because you make them from scratch, you can control everything: the punchiness of the mint, the intensity of the swirl, even whether you go for classic cubes or rustic, torn pieces. They’re as much a pleasure to make as they are to eat.
The Ingredients That Give Candy Cane Marshmallows Their Holiday Charm
Let’s talk through the real stars of these Candy Cane Marshmallows, and how each one brings out that holiday magic.
- Water – essential for hydrating the gelatin and dissolving the sugar, giving shape and tenderness to every marshmallow cube.
- Unflavored powdered gelatin – the backbone of any marshmallow, this sets the structure and allows that pillowy-soft bounce.
- Granulated sugar – sweetness is obvious, but sugar also helps the marshmallow whip up light and glossy.
- Light corn syrup – keeps the sugar from crystallizing and ensures your marshmallows turn out smooth rather than grainy.
- Peppermint extract – that cool, unmistakable candy cane flavor comes from just enough peppermint to tingle without overpowering.
- Kosher salt – just a pinch highlights all the sweet and minty notes, rounding out every bite.
- Red food coloring – gives those iconic candy cane swirls; you can go bold for deep red or subtle for a soft blush finish.
- Powdered sugar or cornstarch – for dusting, it prevents sticking and leaves a delicate, snowy coating outside each marshmallow.
See the recipe card below for the full list of ingredients and measurements.
How to Whip Up a Batch of Candy Cane Marshmallows
Homemade marshmallows sound intimidating, but once you’ve made a batch, you’ll wonder why you ever bought them. Here’s how I pull these together—minimal fuss, maximum festive payoff.
- Start by prepping your baking dish. I like to use a square pan, well greased (those marshmallows are sticky little things).
- Bloom the gelatin: Sprinkle the powdered gelatin over cold water in the bowl of your stand mixer. Let it sit for a few minutes to soften—that’s how you get that signature marshmallow texture.
- Meanwhile, in a saucepan, combine granulated sugar, corn syrup, and more water. Heat gently, stirring until the sugar’s dissolved, then bring to a boil. Once your thermometer reads the magic number (about 115°C), pull the saucepan from the heat.
- With the mixer running on low, slowly pour the hot syrup into the softened gelatin. Add the peppermint extract and salt. Now crank the mixer up to high and watch the transformation: after several minutes, the mixture turns thick, opaque, and glossy. You’re waiting for stiff peaks that just barely slump over.
- Quick as you can, scrape the sweet fluff into your pan, smoothing the top. While it’s still warm, dot and swirl in the red food coloring with a skewer or toothpick, making those candy cane ribbons right before your eyes.
- Let time do its thing. These need a few hours—either on the counter or sped up a little in the fridge—until firm enough to slice.
- Lift the slab out and cut into cubes (an oiled knife works wonders here). Roll the pieces in powdered sugar or cornstarch so they don’t stick together, and they’re ready to serve or gift.
The Secret to That Pillowy Marshmallow Bounce
Getting the texture just right is the mark of an excellent marshmallow, and Candy Cane Marshmallows demand a perfectly soft, yet structured bite. The keys? Hydrate your gelatin thoroughly before you start whipping, and be precise with your sugar syrup temperature—too hot or cold and the marshmallows just won’t set as light as they should. Don’t rush that mixing step, either. You want to whip the mixture until it’s no longer stretching but billowing in big, glossy peaks that slowly collapse. The moment you can pull the whisk out and watch a soft mound sit atop the fluff for a second or two, it’s ready for the pan.
Swirling in the food coloring while the mixture is still warm lets you create crisp, defined streaks that don’t bleed or fade. And when it comes to cutting, dust everything—the work surface, your knife, even your hands—with powdered sugar or cornstarch to keep those plush cubes from sticking.
Tips, Creative Variations, and Holiday Serving Ideas
A few tricks can elevate your marshmallow game from “yum” to “how did you make these?” First, resist the urge to over-swirl the food coloring—sometimes less is more, both for beauty and for keeping the candy cane effect bold. If you’re after a deeper peppermint bite, add a drop more extract, or swap in vanilla for something more subtle.
For a playful twist, you can roll the freshly cut pieces in crushed peppermint candies instead of just powdered sugar, giving each marshmallow a slight crunch and a burst of red sparkle. These store well at room temperature in an airtight container, layered with baking paper; just make sure they’re completely set and dusted before packing up, or they might meld together.
Serve your Candy Cane Marshmallows on their own, or let them melt atop steaming mugs of hot chocolate—the red swirls do a slow, mesmerizing dance as they dissolve. Tuck a few into holiday cookie tins as sweet, chewy accents, or bundle them up in cellophane as a homemade gift that’ll put a smile on anyone’s face.
FAQs about Candy Cane Marshmallows
Can I use agar-agar instead of gelatin in these Candy Cane Marshmallows?
Agar-agar can be used as a vegetarian substitute for gelatin, but the results won’t be quite as pillowy or chewy. Your marshmallows will set a little more firmly and may lack the same bounce, but it’s still possible with careful adjustments.
How long do homemade Candy Cane Marshmallows stay fresh?
If you store them correctly in an airtight container at room temperature, Candy Cane Marshmallows will stay fresh for about 1 to 2 weeks. Keep them away from humidity or direct sunlight, and add a bit more powdered sugar if they start feeling tacky.
Can Candy Cane Marshmallows be frozen for later?
Yes, you can freeze marshmallows. Spread them in a single layer on a baking sheet to freeze quickly, then transfer them to a freezer bag with extra powdered sugar or cornstarch. Let them come back to room temperature before enjoying for best texture.
Is there a way to make these marshmallows ahead for gift-giving?
Absolutely—Candy Cane Marshmallows are perfect for making ahead. Just be sure they’re fully set and dusted, then wrap tightly in cellophane or store in containers lined with parchment. They’ll maintain their texture and peppermint flavor for several days.
What’s the best way to serve Candy Cane Marshmallows for a crowd?
For gatherings, offer them as a hot chocolate topping bar alongside whipped cream and extra crushed candy canes, or layer them in clear jars for easy grabbing. They also make fun, festive additions to dessert boards for any holiday party.
The first bite is always the best—a soft, cool-mint marshmallow that melts in your mouth with a burst of candy cane cheer. Whether you’re swirling the red ribbons yourself or putting the finishing touches on a cookie box, these Candy Cane Marshmallows bring so much homemade joy to the holidays. Cozy up with a mug of cocoa and a few of these, and let the festive sweetness settle in.
More Delicious Recipes
- Lucky Charms Bars: These sweet, colorful treats combine the nostalgia of cereal with a marshmallow base, making them a delightful holiday snack.
- St. Patrick’s Day Mint Blossom Cookies: These cookies offer a cheerful mint flavor and fun presentation, perfect for any festive occasion.
- Lucky Charms Cookies: These cookies bring a fun twist reminiscent of childhood cereal, adding a playful touch to your dessert table.
Candy Cane Marshmallows
Ingredients
Equipment
Method
- Grease a 9x9-inch baking pan with cooking spray and set aside.
- In the bowl of a stand mixer, add ⅔ cup cold water. Sprinkle gelatin on top and let bloom.
- In a medium saucepan over medium-high heat, combine granulated sugar, corn syrup and ⅔ cup water. Stir until sugar is dissolved. Bring the mixture to a boil, swirling the pan occasionally, until the mixture reaches exactly 240°F on a candy thermometer, about 10-12 minutes. Immediately remove from heat.
- With the stand mixer on low speed, slowly and carefully pour the melted sugar mixture into the gelatin mixture. Add the peppermint extract and salt.
- Slowly (to avoid splashes) increase the speed to high and whip until the mixture is stiff and white, about 10-12 minutes. When you remove the whisk, stiff peaks should form that take a few seconds until they fall back into the marshmallow mixture. Working quickly, pour the mixture into the prepared baking pan and use a spatula to help spread evenly.
- While the marshmallows are warm, add droplets of red food coloring to the top. Use a toothpick or skewer to swirl the food coloring throughout the marshmallows.
- Let the marshmallows sit and firm for at least 4 hours at room temperature or 2 hours in the refrigerator.
- Dust your work surface with powdered sugar or cornstarch. Use a butter knife to slice around the edges of the pan, then turn the marshmallow out onto the work surface. You may need to pry it out at a corner. Use a sharp knife to cut the marshmallow into (at least) 16 pieces. If needed, spray the knife with cooking spray to help prevent sticking. If there is excess cooking spray on your marshmallow, dab with a paper towel to remove.
- Roll each marshmallow in powdered sugar or cornstarch on each side to prevent sticking, then serve.