Homemade Pop Tarts with Pie Crust: A Simple Delight
Sunday mornings always have a kind of cozy, slow-burn magic, and the best ones start in the kitchen with just a hint of flour on the counter and a whiff of something sweet baking away. If you’ve been craving that nostalgic Pop Tart experience—but with real, buttery pastry and fresh jam—these Homemade Pop Tarts with Pie Crust have your name all over them. It’s the kind of project where you steal little spoonfuls of filling and find yourself grinning at how easy it is to make something so comforting from scratch, no box required.
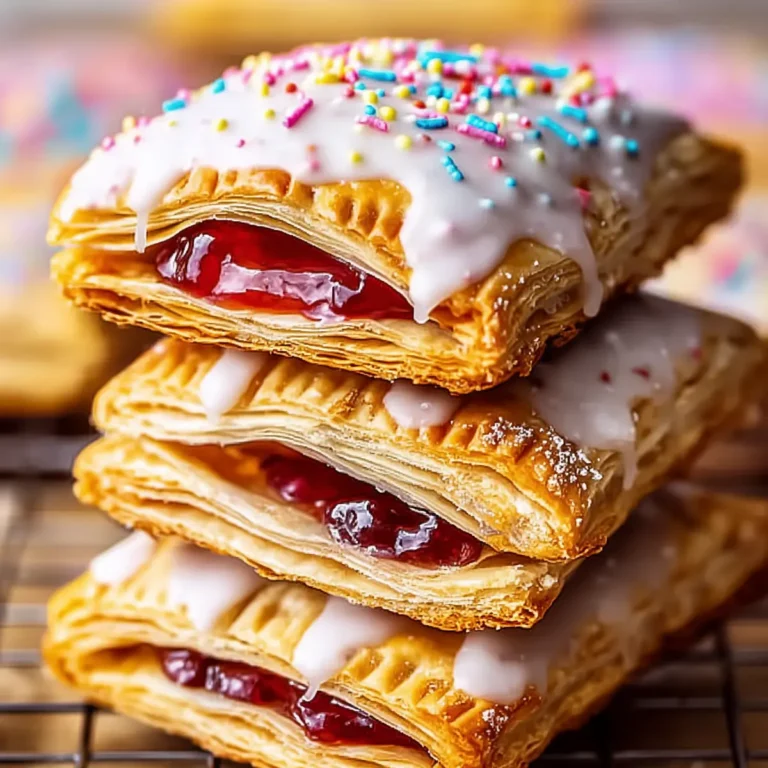
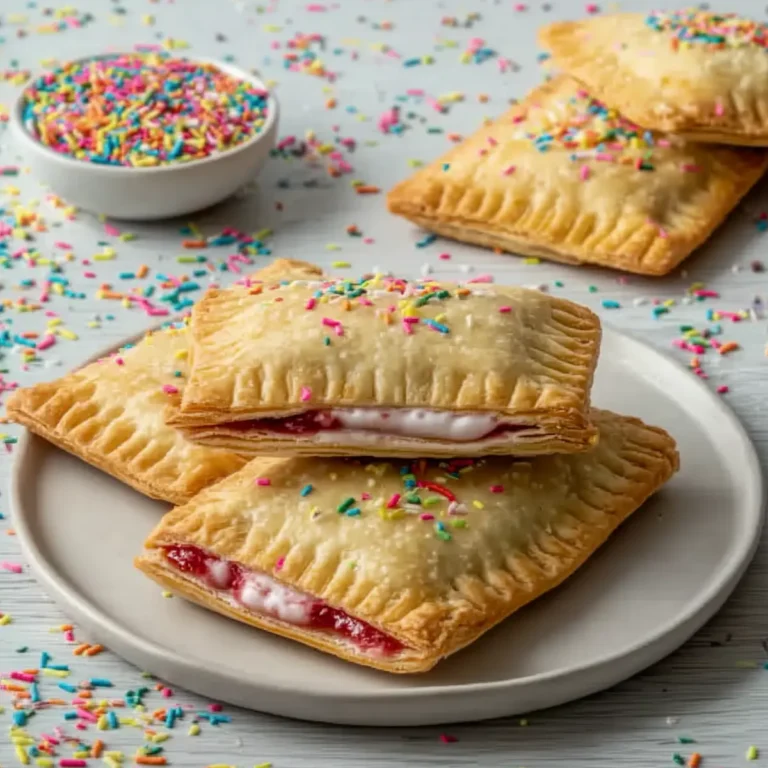
Beneath the flaky crust is a pocket of fruity jam, warm and bubbling, and there’s that simple vanilla glaze that drips just right over the top. Whether you’re still in your pajamas or corralling excited kids, making these feels like a little celebration with every step. Shortcut? Store-bought pie crust. High reward? That first bite, still warm from the oven, with icing melting into the grooves you crimped yourself.
What Makes These Homemade Pop Tarts with Pie Crust Extra Special
What really sets these Homemade Pop Tarts with Pie Crust apart is just how satisfying and simple they are. You’re getting that same joyful jam pocket of your childhood, but the pastry is flaky, golden, and melt-in-your-mouth—nothing like the crumbly, brittle edges you remember peeling off the boxed kind. Because you’re using real pie crust, the texture is almost like your favorite fruit hand pie—soft but crisp with each bite, with a hint of buttery richness.
This recipe is also wonderfully flexible. Maybe you want breakfast treats with raspberry preserves, maybe you’re coaxing a kid to help you sprinkle freeze-dried berries on top, or maybe you just want to use up that half-full jar of jam rolling around your fridge. The steps are easy enough for an after-school activity yet impressive for guests if you’re feeling a little extra. They store well for a couple of days (if they last that long), making them a great little treat to bake ahead for a busy week or lazy weekend.
Ingredient Scoop: Homemade Pop Tarts with Pie Crust
This is a pastry where each ingredient counts toward that nostalgic vibe—but none require fuss or fancy pantry hunting. Here’s how they work together to create homemade happiness:
- pie crust – Delivers buttery layers and flaky, golden edges; using pre-rolled makes the process a breeze. You can swap in homemade if you’re in the mood.
- Jam or preserves – This is your filling star: go for a classic strawberry, jammy raspberry, or experiment with whatever preserves you adore. Pie filling or lemon curd would work too.
- Egg – Beaten for an easy egg wash, sealing the tarts and providing that shiny, crisp finish up top. Skipping it? Try milk or a vegan alternative to help edges stick together.
- Powdered sugar – Essential for that vanilla glaze that soaks into the warm pastry. Sift if you want ultra-smooth icing.
- Milk or cream – Loosens the icing for perfect drizzling. Use whatever’s in your fridge—dairy or non-dairy will both work.
- Vanilla – Brings sweet, aromatic warmth to the glaze and makes the whole kitchen smell incredible.
See the recipe card below for the full list of ingredients and measurements.
Step-by-Step: How to Create Homemade Pop Tarts with Pie Crust
Let’s break down exactly how to get these jammy, crimped beauties onto your breakfast table. Each moment is hands-on and deeply satisfying, right down to the fork marks in the edges.
- Start by heating your oven—it needs to be good and hot to create that crisp, golden pastry.
- Roll out your pie crusts on parchment. Use a sharp knife or a rigid index card to cut neat rectangles. Gather up extra trimmings, roll them out again, and keep going until you have enough pairs for your pop tarts. Thin crust equals maximum flake and no doughy pockets.
- Arrange half of your cut rectangles on a baking sheet lined with parchment. They’re about to become mini jam envelopes.
- Spoon a generous dollop of jam or preserves into the center of each bottom rectangle. Don’t spread it all the way to the edges—leave a border so nothing oozes out when you press them closed.
- Whisk the egg for a quick egg wash. With a pastry brush or just your fingertip, brush all four edges of each jam-topped rectangle. This will glue the top crust shut and give everything a shiny finish.
- Place another dough rectangle gently over each one. Use your fingers to press the edges together, then grab a fork and crimp all around—those little dimpled marks are both pretty and practical.
- Poke a few holes in the top of each pop tart with your fork or a toothpick. This lets steam escape so your tarts stay poppin’, not bursting.
- Brush the whole top (and edges) of each tart with more egg wash for that bakery-shop shine.
- Slide your baking tray into the oven. You’ll know the tarts are ready when they’re puffed and golden all over, and you might see some jam just beginning to bubble through a vent hole—irresistible.
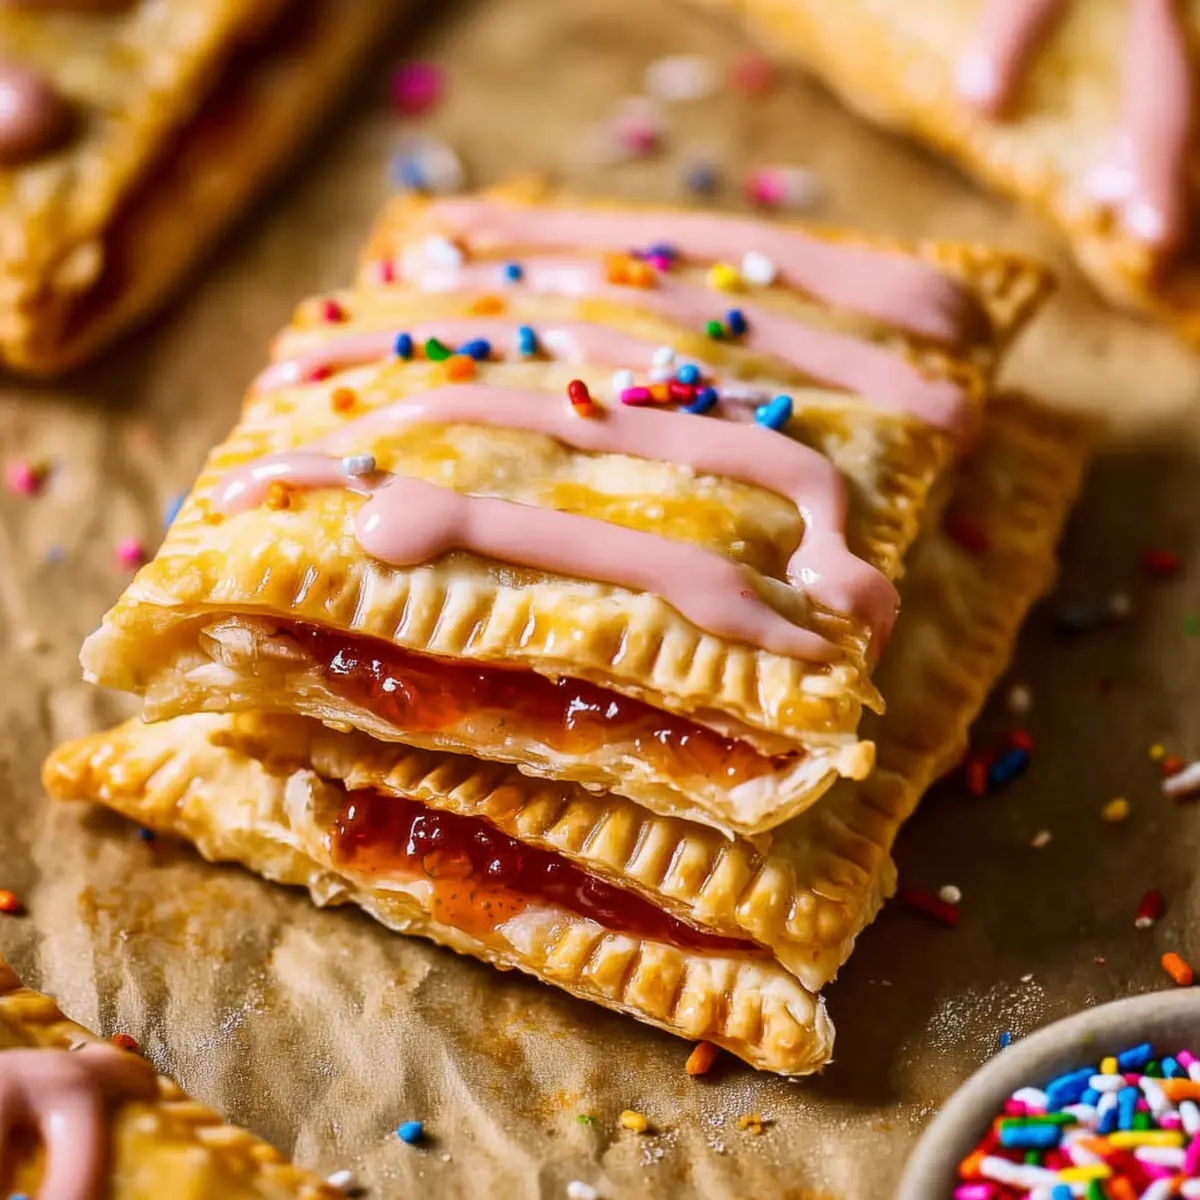
- Let them cool completely—the patience part! While they rest, whisk together powdered sugar, a splash of milk or cream, more jam (if you want pink icing), and a bit of vanilla until smooth and pourable.
- Spread icing across each cooled tart, letting it pool and drift off the sides for that perfect “retro” look. Add a handful of sprinkles, a dusting of crushed freeze-dried berries, or whatever joyful topping you love.
- Eat fresh while they’re soft and warm, or stash them in an airtight container for breakfast on the go—the glaze sets just enough to stay put, with that dreamy, slightly soft finish.
Kitchen Tricks for Foolproof Homemade Pop Tarts with Pie Crust
Getting the perfect Homemade Pop Tarts with Pie Crust is about a few simple tricks learned from a little trial, error, and jammy finger-licking over the years.
First, make sure your pie crust is rolled out thinner than you might think—it puffs more in the oven, and thinner dough gives you a neat, crisp edge and just the right jam-to-pastry ratio. If the dough feels sticky, a light dusting of flour helps.
Don’t over-stuff the filling. It’s tempting (I get it!) but too much jam can mean leaky edges and sticky clean-up. Leaving a border around the filling makes all the difference for neatly sealed tarts.
Egg wash on both the seams and the tops creates a gorgeous golden appearance, but if eggs are a no-go for you, brushing with plain milk or a non-dairy substitute will still help everything seal up.
If your glaze seems too runny, just add a touch more powdered sugar; too thick, a splash more milk. Remember, the icing never truly hardens like store-bought versions, so let your pop tarts sit uncovered for a while if you want the glaze to set a bit more before storing.
To keep the edges crisp and avoid sogginess later, store fully cooled tarts in a single layer or with sheets of parchment in between. They’re best eaten fresh but can keep their charm for a couple of days in an airtight container.
Beyond the Basics: Fun Variations and Serving Ideas
Pop tarts are one of those treats begging to be riffed on—think of the classic as your blank pastry canvas. For fillings, swap out the standard berry jam with lemon curd, apple compote spiked with cinnamon, or even chocolate-hazelnut spread for a decadent twist.
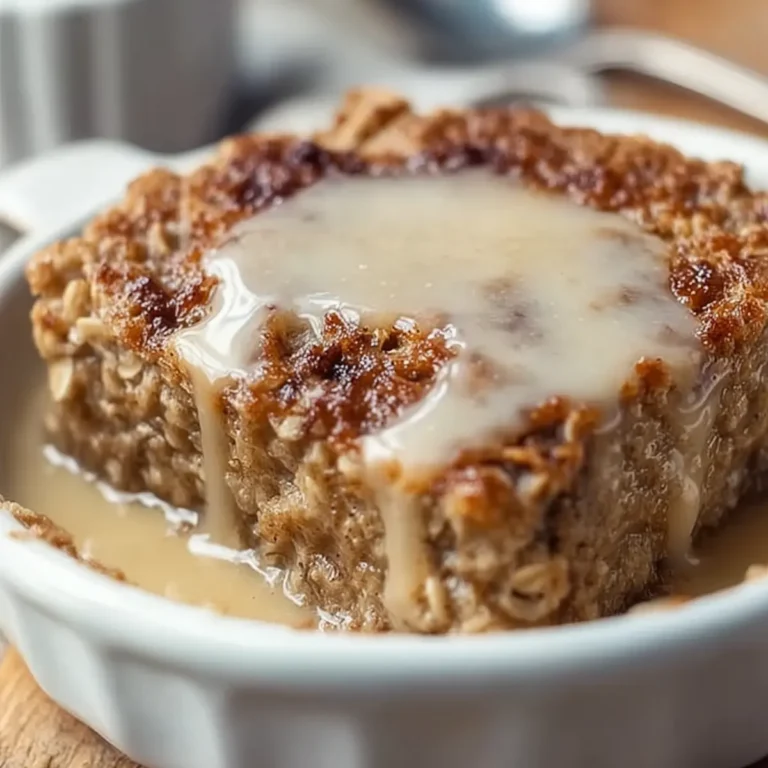
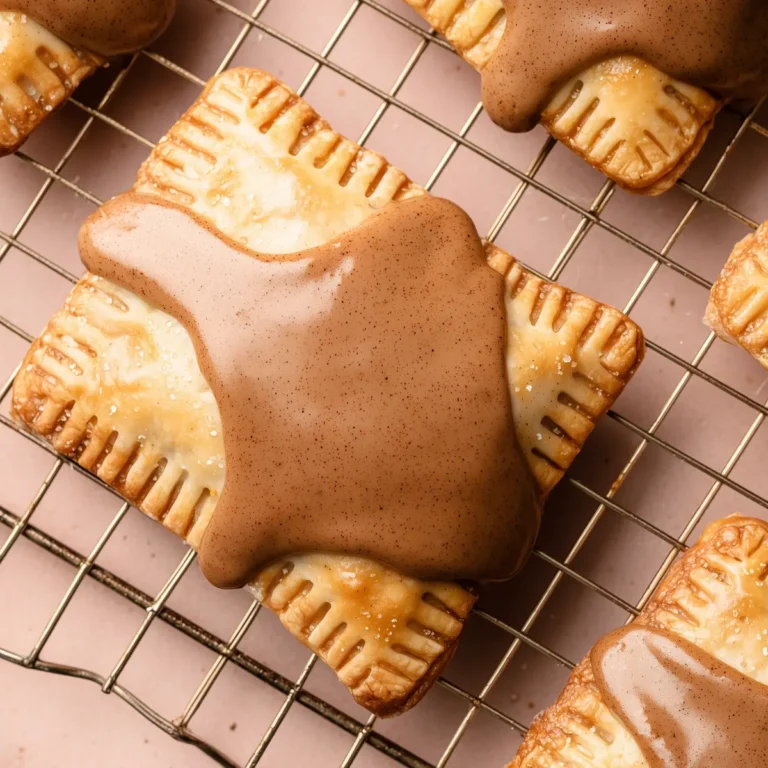
Feeling festive? Stir in crushed freeze-dried strawberries or tiny meringue pieces into your glaze. For a fall or holiday version, brown sugar–cinnamon filling hits all the cozy notes and pairs beautifully with the vanilla icing.
Looking for a savory snack? Skip the sweet stuff and try tomato jam with a sprinkle of grated cheese, or a dollop of pesto and roasted veggies for a brunchable option—just leave off the icing, or swap for a herby spread after baking.
Homemade Pop Tarts with Pie Crust are the kind of snack that pair effortlessly with a mug of coffee, a chilly glass of milk, or a side of crisp fruit. Serve them at a weeknight breakfast-for-dinner, tuck them into a lunchbox, or bring a whole sheet to the next weekend sleepover.
If you’re planning ahead, unbaked pop tarts freeze beautifully—just assemble, freeze on a tray, then transfer to a bag and bake straight from frozen (add a few minutes to baking time). This means warm, fresh-from-the-oven treats are always within reach, no matter how busy the morning.
FAQs about Homemade Pop Tarts with Pie Crust
Can I make Homemade Pop Tarts with Pie Crust in advance?
Absolutely! You can assemble the pop tarts and keep them in the fridge overnight before baking. If you want to go further, freeze the assembled, unbaked tarts, then bake directly from frozen—just add a few minutes to the baking time. Baked pop tarts stay soft for a couple of days if stored in an airtight container.
What can I use instead of egg wash for sealing my pop tarts?
If eggs are off the table, brushing the edges and tops with milk or a non-dairy substitute like oat or almond milk works well. It helps seal the pastry and creates a gently golden finish, though it might be a touch paler than the classic egg-glazed look.
How do I keep the glaze from sticking when storing homemade pop tarts?
Let the glaze set as much as possible before stacking—about 30 minutes at room temp should do the job. If you’re storing a whole batch, layer parchment or wax paper between each pop tart so the icing doesn’t make them stick together. Store in a single layer if you can.
Can I freeze Homemade Pop Tarts with Pie Crust after baking?
Yes, baked pop tarts freeze well! Skip the glaze before freezing for the best texture—just cool the tarts completely, stash in an airtight container or bag, and reheat in a moderate oven or toaster when you’re ready to eat. Add icing and sprinkles after reheating for a fresh finish.
Homemade Pop Tarts with Pie Crust are so much more than a breakfast throwback—they’re a bite of pure, simple joy that just happen to fit in your hand. Whether you keep them classic or go wild with fillings, their buttery layers and jammy centers guarantee a little pocket of comfort any day of the week. Brew some coffee, pour a cold glass of milk, and treat yourself to warm pastries you shaped yourself—moments like these are the sweetest reward.
More Delicious Recipes
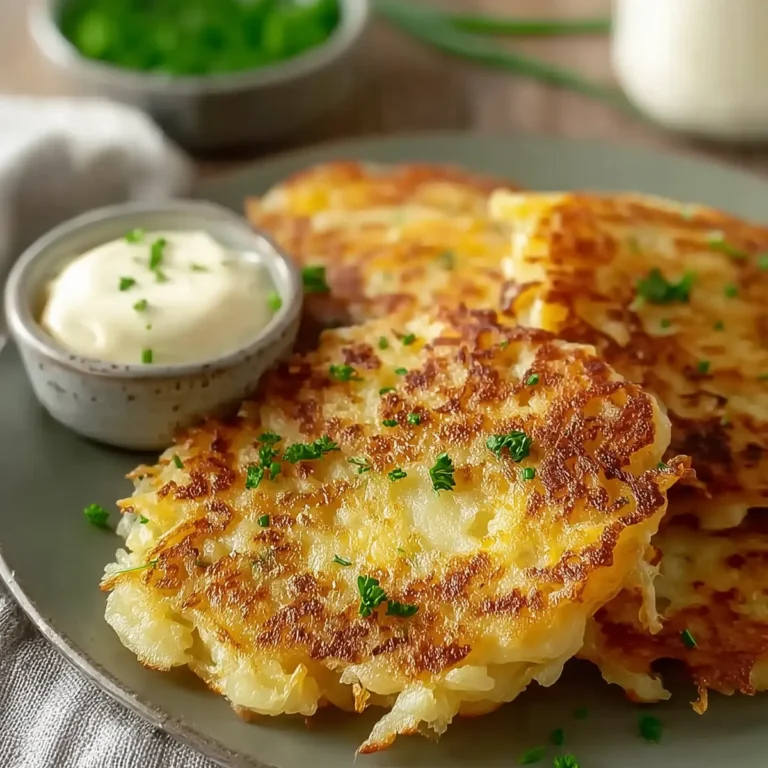
- Irish Potato Bites: These offer a delightful twist on traditional snacks that are perfect alongside your homemade pastries.
- Irish Scones: They provide a fluffy, buttery breakfast option that pairs perfectly with jam, just like your pop tarts.
- Lucky Charms Bars: A sweet treat that brings nostalgia and is easy to whip up, just like your homemade pop tarts.
Easy Homemade Pop Tarts with Pie Crust
Ingredients
Equipment
Method
- Preheat oven to 400°F.
- Lay a sheet of parchment on a baking sheet and unroll crust onto another sheet of parchment. Cut as many pieces of approx. 3 in by 5 in (you could literally use an index card as a guide!) rectangles as you can from each crust. With remaining crust, knead together and then roll out into another large, thin piece (just under 1/4 in.) to cut remaining rectangles. (You can also do this by putting each tart together as you go.)
- Beat the egg for your egg wash in a small bowl. Lay out 8 rectangles on the parchment lined baking sheet. Add 1 1/2 Tablespoons of desired jam. Brush the edges with your egg wash and then place another rectangle on top of the rectangle with the jam. Gently pinch the edges to seal and then using a fork, crimp the edges. Poke some holes in the top of the pop tart and then brush the entire top, including edges, with the egg wash.
- Continue with the rest of the pop tarts. Bake for about 15 minutes or until golden brown.
- Once cooled, whisk together icing ingredients and spread over each pop tart. Add sprinkles, freeze dried berries crushed, rose petals (ha, that's what I used because I didn't have freeze dried berries) or just eat them as is! Store in an air tight container for up to about 2 days although they are best fresh.