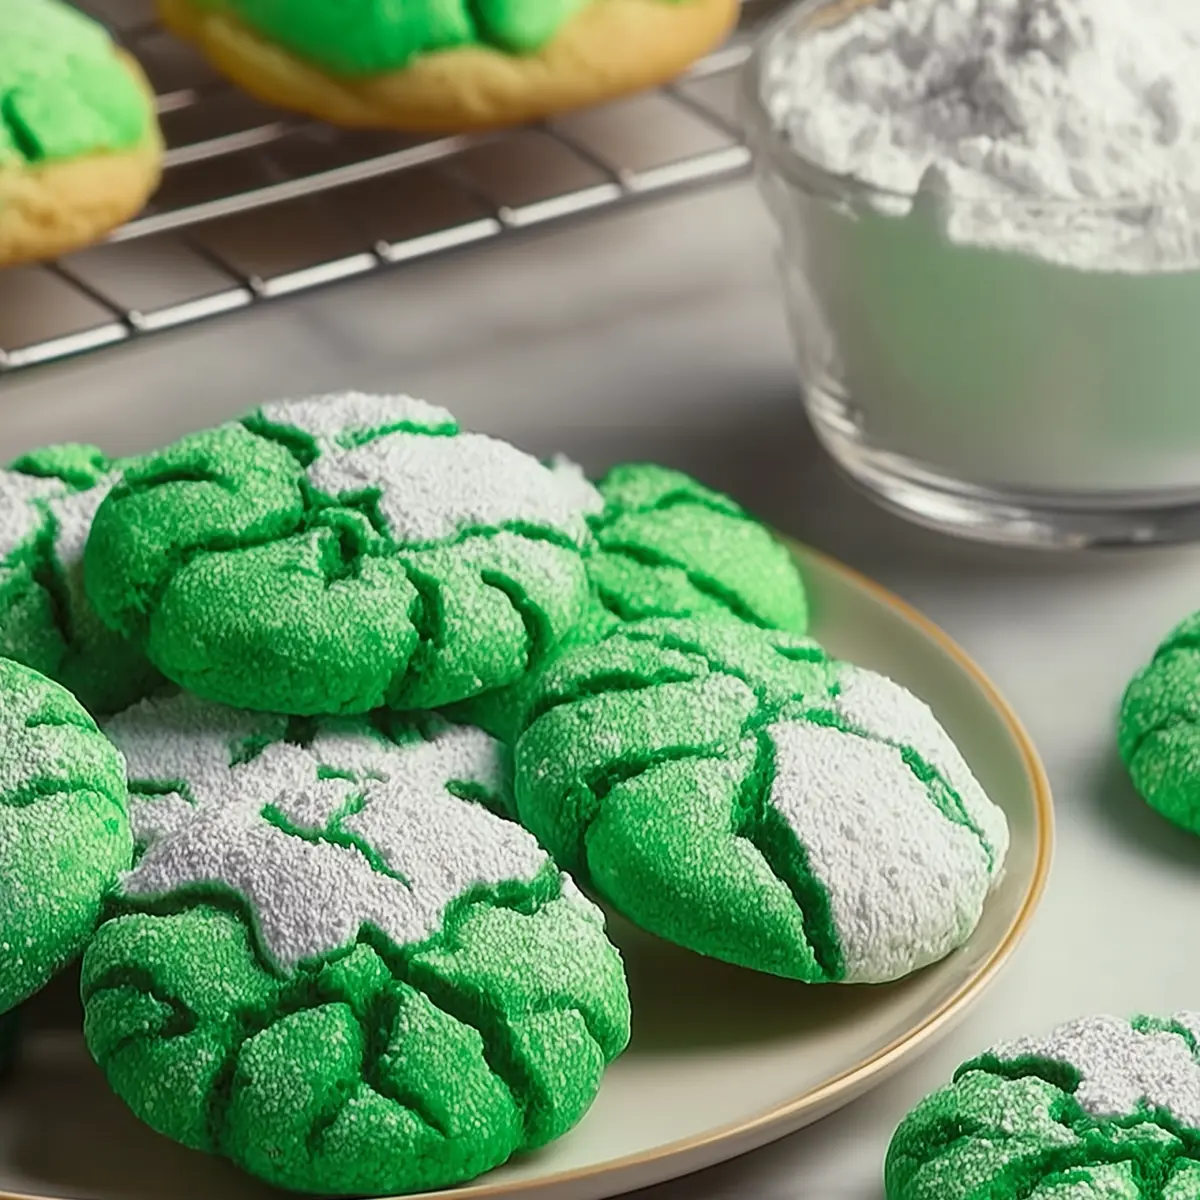
St. Patrick’s Day Cookies: Easy and Festive Treats
If you’re anything like me, you want a festive treat for St. Patrick’s Day without fussing with a million ingredients or making a mess of the kitchen. St. Patrick’s Day Cookies are my secret go-to when I want something bright and playful that brings everyone straight to the counter with big, curious eyes. The sugary crinkle top, the pop of cheery green, and that soft, chewy middle—these cookies check every box for a joyful holiday bake that’s actually easy.
You don’t need to block off your afternoon for these. I love that happy shortcut: a box of cake mix! Add a couple of kitchen staples and a swirl of green food coloring, then roll the sticky dough in sugar until it sparkles. You’ll hear laughter as the cookies come out of the oven and everyone dives for one before they’ve even cooled.
Why These St. Patrick’s Day Cookies Are Always a Hit
St. Patrick’s Day Cookies have that perfect balance you want in a holiday treat: they’re impossibly simple to make, yet they look and taste like you spent all afternoon baking. The crackly powdered sugar coating makes them extra special—the way it shatters when you bite in, then melts into a cloud on your tongue.
What really sets these apart is their playful spirit. That bright Kelly green is like a little wink to the season, and no one can resist reaching for another. Whether you’re bringing a batch to a work party, tucking them into a lunchbox, or lining them up after dinner for a mid-March family night, these cookies always get the “wow, you made these?!” reaction. No complicated steps, no chilling overnight, no fancy tools—just pure, soft-baked comfort and a festive punch of color.
And let’s be honest, sometimes you want to celebrate without turning your kitchen inside out. With the cake mix foundation, there’s none of the dry-measure guessing or flour flying everywhere. You’ll have these sweet, tender, sugar-dusted cookies cooling on the rack before you know it.
What Goes Into These Irresistible St. Patrick’s Day Cookies
Here’s a peek at the handful of ingredients that bring the magic (and why each one pulls its weight):
- cake mix – This is the ultimate shortcut, giving you a fluffy, consistent base every single time. No need to mess with flour, sugar, or leaveners—it’s all in one box.
- Large eggs – They bind everything together and add rich moisture, making every bite extra chewy.
- Vegetable oil – Keeps the cookies soft and tender, so they don’t dry out (even if you sneak one a day later).
- Kelly green gel food coloring – Gives you that unmistakable St. Paddy’s energy. Gel is the trick for bold color without thinning out the dough.
- Granulated sugar – A quick roll gives the crust a classic sparkle and helps the powdered sugar pop on top.
- Powdered sugar – This is what gives the cookies their signature snowy, crinkled shell and melt-in-your-mouth edges.
See the recipe card below for the full list of ingredients and measurements.
Making St. Patrick’s Day Cookies Step by Step
Whipping up a batch of St. Patrick’s Day Cookies is a breeze—here’s exactly how I do it when I want that bakery-shop look (minus the drama):
- Start by dumping the cake mix into a big mixing bowl. Crack in the eggs and pour in the vegetable oil. Stir everything together—don’t be shy with that spatula—you want a thick, sticky dough that clings to the spoon and nothing dry at the bottom.
- Once you’ve got a cohesive dough, squeeze in the Kelly green gel food coloring. Mix, fold, and swirl until every single inch is vibrant and uniform. If you see streaks, keep going—you want full-on emerald green. Cover the bowl with plastic wrap and slide it into the fridge. Chilling makes the dough easier to handle and helps those crinkly tops form in the oven.
- While the dough chills, line your baking sheet with parchment paper so the cookies don’t stick and there’s minimal cleanup. Set up a little dipping station with granulated sugar in one shallow bowl and powdered sugar in another. These two coatings are the secret to that dramatic crinkle finish.
- Scoop out balls of chilled dough. A tablespoon-sized scoop works best for even cookies, but honestly, I just use my hands if I’m in a hurry. Roll the dough gently into balls—your palms will get sticky, but it’s part of the fun—then plop each one first into granulated sugar, rolling to coat.
- Once coated in granulated sugar, move each dough ball over to the powdered sugar bowl and roll until every side is blanketed white. Shake off any heavy clumps so it’s even.
- Arrange the sugar-covered cookie balls on your prepared tray, giving them space to spread and breathe. Don’t crowd them or you’ll lose those crackly edges.
- Slide the pan into a preheated oven. Bake until the cookies flatten a bit and the tops blossom with deep, beautiful cracks. The edges should be set, but the centers will look a little soft—that means they’ll be chewy later.
- Let the cookies rest on the tray for a few minutes. They’ll finish setting and won’t fall apart when you move them. Then carefully transfer to a wire rack and let the sweetness cool off (if you can wait that long).
- Once cool, pile the cookies onto a plate or stash in an airtight container for the luckiest snack time of the week.
Simple Secrets for Perfectly Crackled St. Patrick’s Day Cookies
Cookie baking can feel fussy, but these St. Patrick’s Day Cookies are forgiving—just a couple of easy tricks and you’ll get beautiful results every time.
First off, don’t rush the chilling step. Taking time to chill the dough isn’t just busywork—it smooths out the sticky dough, so rolling and coating gets way less messy. It also gives the cookies those bold, split tops when they hit the oven heat.
When you’re rolling the dough in the sugars, be generous. The double coat is what creates that shimmery, snowy crust and helps the cookies keep their shape. If you skimp on powdered sugar, the tops might bake up dull. I always do a quick roll, shake off the extra, then sometimes even re-dip for extra drama.
Keep your eye on the cookies as they bake. You want them to look puffed with signature cracks, but the centers might still seem soft—that’s a good sign! Overbaking will dry them out and rob you of that chewy magic.
For storage, let them cool completely before stashing in an airtight tin. They keep well for a handful of days at room temp, and you can always tuck extras in the freezer for a surprise treat later. Just don’t try to stack them while they’re warm, or you’ll lose that lovely crinkle.
Festive Variations and Serving Ideas for St. Patrick’s Day Cookies
These St. Patrick’s Day Cookies play well with all kinds of fun tweaks and twists—here are a few of my favorite ways to mix it up:
If you’re feeling bold, add green and gold sprinkles on top as soon as the cookies come out of the oven—the warmth will make them stick beautifully and give each bite a little crunch.
Want even more flavor? Fold white chocolate chips, mini marshmallows, or chopped pistachios into the dough before chilling. They give extra richness and tiny pops of texture that work wonders with the sweet sugar shell.
You can swap the food coloring for pastel yellows or soft blues for a whole rainbow tray, or use leaf-shaped cookie cutters for a clover theme (just pat the dough a little flatter before baking).
For grown-up gatherings, stack the cookies around a bowl of Bailey’s-spiked whipped cream for dipping. Or serve as dessert after a cozy Irish stew—kids absolutely love dunking these in hot cocoa.
And don’t be afraid to make them ahead! The baked cookies freeze beautifully. Just layer with parchment in an airtight container and freeze. Set them out at room temperature and they’ll be ready to share in about half an hour.
FAQs about St. Patrick’s Day Cookies
How do I store St. Patrick’s Day Cookies to keep them soft?
Let the cookies cool all the way, then transfer them to an airtight container. Store at room temperature and they’ll stay fresh and chewy for several days. If you’re in a particularly dry climate, place a slice of bread in the container—it’ll help maintain that delicious softness.
Can I freeze St. Patrick’s Day Cookies?
Absolutely! These cookies freeze very well. After they’ve cooled completely, layer them between pieces of parchment paper in a freezer-safe container. When you’re ready for a sweet treat, just set them out at room temperature until they’re soft again.
What’s the best substitute for Kelly green gel food coloring?
If you don’t have gel food coloring, you can use regular liquid food coloring. Start with a few drops and mix until you get the shade you want—just add the color gradually so the dough doesn’t get too wet. The cookies will taste just as great, even if the green isn’t quite as bold.
Do St. Patrick’s Day Cookies need any special equipment or tools?
Nope! A mixing bowl, spatula, baking tray, and small bowls for the sugars are all you need. A cookie scoop helps with even sizing, but using a spoon and your hands works just as well. No fancy tools required—just a little festive spirit.
St. Patrick’s Day Cookies are the kind of treat that makes the whole house feel playful and bright, even on a chilly March afternoon. Every bite gives you a crackle, then a soft, chewy center, making them hard to resist whether you’re serving kids after school or packing up a box for friends. Grab your green gear (and maybe a napkin or two), pile them high, and let the luck of the Irish sweeten up your table this season.
More Delicious Recipes
- St. Patrick’s Day Snack Board: This festive snack board is a perfect complement to your St. Patrick’s Day cookies, offering a variety of fun treats.
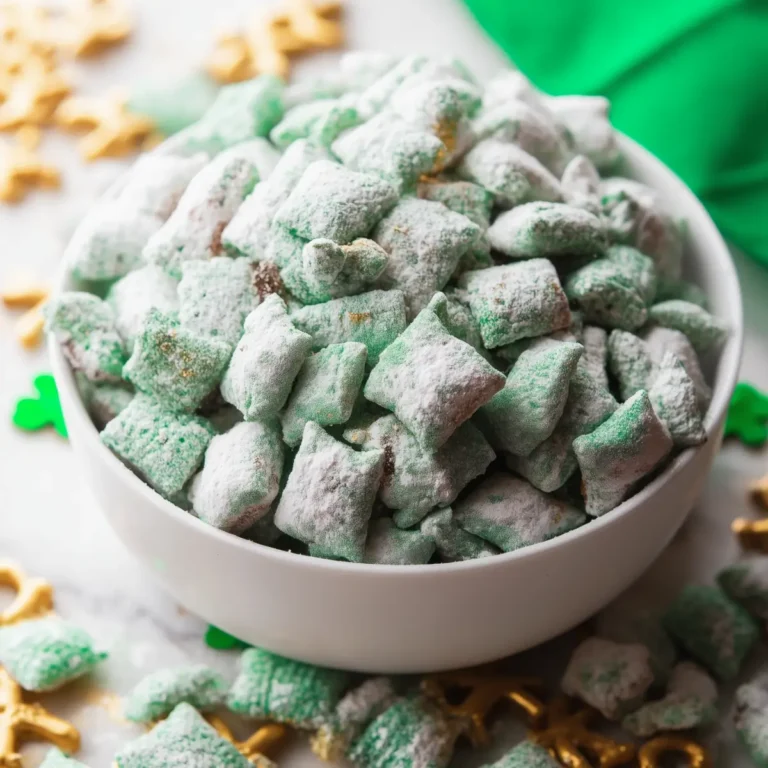
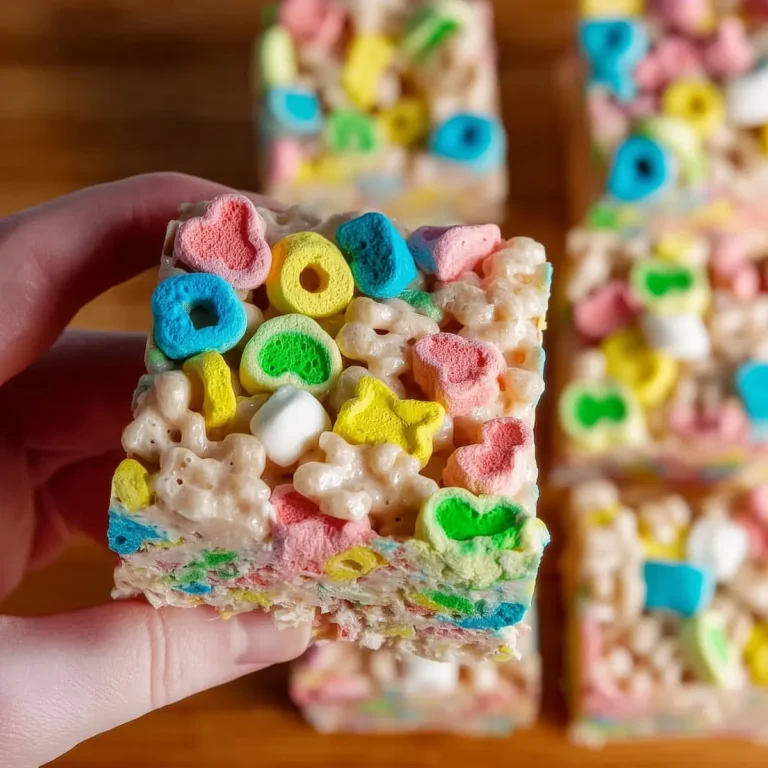
- Lucky Charms Cookies: These cookies combine the familiar taste of Lucky Charms with a sweet base, making them a great addition to your holiday celebration.
- St. Patrick’s Day Mint Blossom Cookies: Packed with minty flavor and festive colors, these cookies offer a delightful twist for your St. Patrick’s Day festivities.
Easy St. Patrick’s Day Cookies
Ingredients
Equipment
Method
- In a large mixing bowl, combine the white cake mix, eggs, and vegetable oil.
- Stir together until a sticky dough forms.
- Add the Kelly green gel food coloring and mix until evenly combined.
- Cover the bowl with plastic wrap and chill the dough in the refrigerator for 30 minutes.
- Preheat the oven to 350°F and line a baking sheet with parchment paper.
- Place the granulated sugar in one small bowl and the powdered sugar in another small bowl.
- Use a tablespoon-sized cookie scoop to portion out the dough.
- Roll each scoop of dough into a ball between your hands.
- Roll each dough ball in the granulated sugar until fully coated.
- Next, roll each sugar-coated dough ball in the powdered sugar until completely covered.
- Place the coated cookie dough balls on the prepared baking sheet, spacing them 2 inches apart.
- Bake for 9-12 minutes, until the cookies have spread slightly and the tops are crackled.
- Remove from the oven and let the cookies cool on the baking sheet for 5 minutes.
- Transfer the cookies to a wire rack to cool completely.
- Store in an airtight container at room temperature for up to 5 days or freeze for longer storage.