Lucky Charms Cookies: A Fun and Colorful Treat
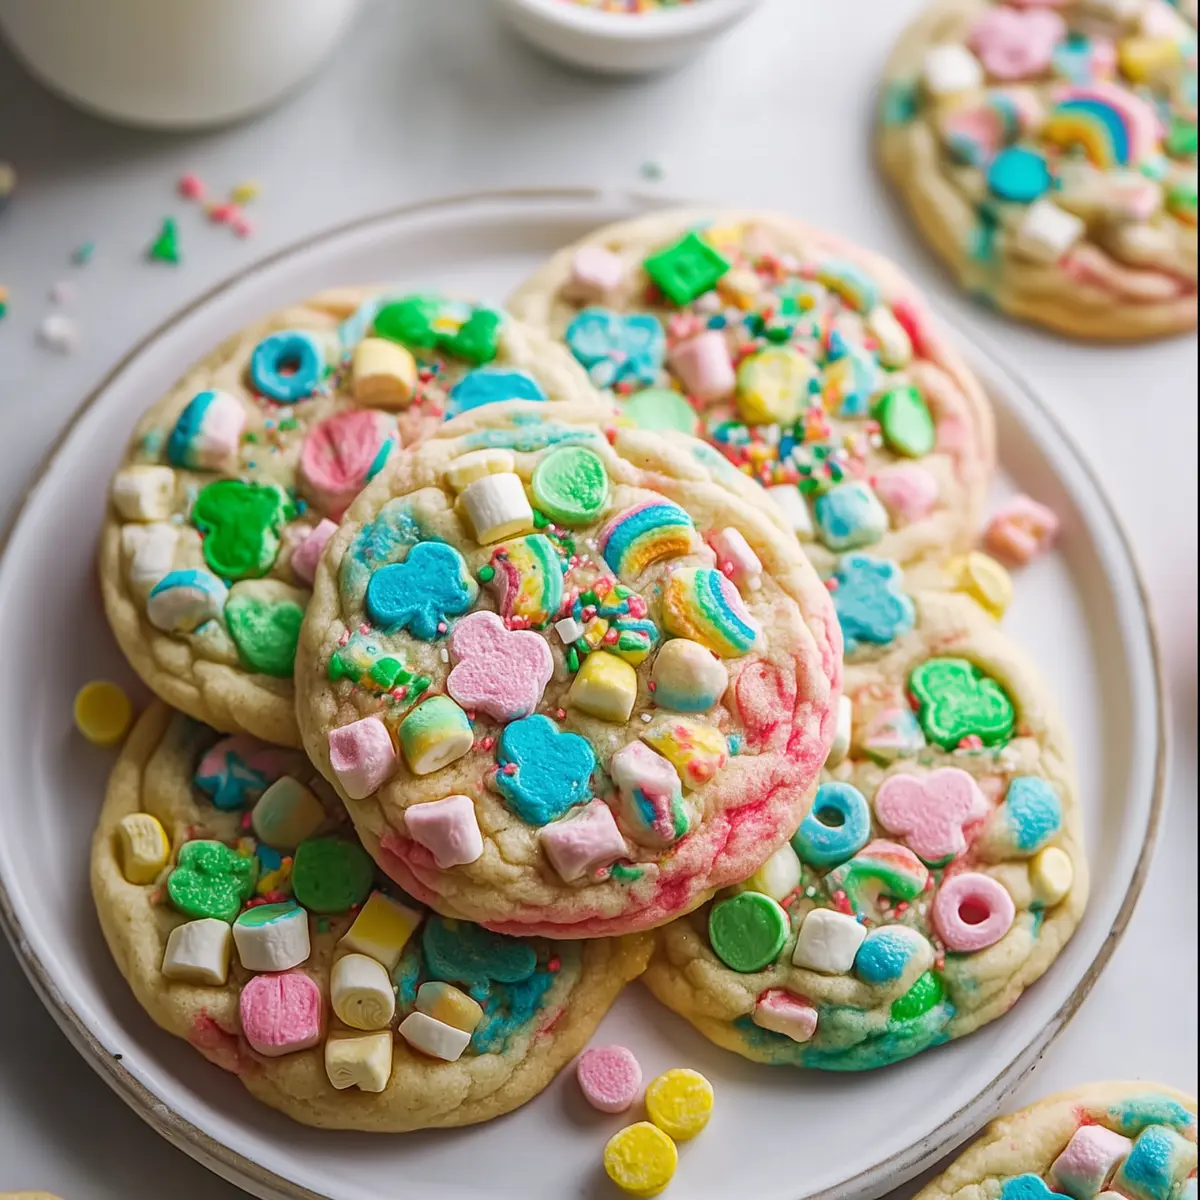
If you’re in the mood for something playful, nostalgic, and just downright fun, these Lucky Charms Cookies are calling your name. I’ll be honest: I can never resist those colorful marshmallows and the cozy aroma of fresh-baked sugar cookies. As soon as you fold the candy-bright marshmallows into the plush, buttery dough, you’ll understand why these cookies are a hit for any occasion—kids’ birthdays, St. Patrick’s Day, lazy Sunday baking, or just because you need a little magic on a regular afternoon.
The real joy here? The moment you peer into the oven and see marshmallows peeking through golden edges, it’s like a childhood cereal bowl and bakery treat all at once. Every bite brings a crackle of crisp rainbow charm and melty white chocolate—soft, sweet, and lightly crispy on the edges. No fuss, no special trips for ingredients, just a bag of cereal and simple pantry staples come together for pure cookie enchantment.
Why These Lucky Charms Cookies Are Extra Special
You know those rare desserts that feel like a celebration, even on a random Thursday? That’s the vibe Lucky Charms Cookies bring to your kitchen. Each cookie blends a soft, buttery sugar base with brilliant pops of color, thanks to a generous handful of marshmallows straight from the cereal box.
What I love most is the hit of nostalgia—every bite reminds me of Saturday morning cartoons, sticky fingers, and “just one more” spoonful of cereal. These cookies are a total crowd-pleaser, whether you’re baking up a batch for St. Patrick’s Day, packing them in a kid’s lunchbox, or just treating yourself at midnight. They require zero fancy ingredients and turn ordinary baking into a little event, complete with that magical crackle when the marshmallows toast just right.
And let’s not forget: They’re impossible to mess up. You get a plush center, crispy edges, creamy white chocolate, and the joyful surprise of rainbow charms in every bite. Sweet? Yes. Fun? Absolutely. Unforgettable? Without a doubt.
What You’ll Need for Lucky Charms Cookies
Here’s the lowdown on the ingredients—each one earns its spot in these Lucky Charms Cookies:
- butter – Lays down a rich, creamy foundation that keeps the cookies tender and full-flavored.
- Granulated sugar – Sweetens things up and helps the cookies stay crisp around the edges.
- Brown sugar – Adds a subtle molasses flavor and helps keep the centers oh-so-chewy.
- Egg – Binds everything together, making the dough soft and giving the cookies a little lift.
- Vanilla extract – Brings a warm, fragrant aroma that makes your whole kitchen smell inviting.
- Vegetable oil – Adds moisture for a super tender, never-dry texture.
- All-purpose flour – The sturdy backbone; structure for perfectly puffy cookies.
- Baking soda – Just enough lift for dreamy, settled cookies without extra spread.
- Baking powder – Gives the cookies a boost, for a soft, light bite.
- Lucky Charms marshmallows – All about visual pop and that nostalgic crunch. You can buy them separately online if you don’t want to pick them out of cereal by hand.
- White chocolate chips – Creamy bursts that pair perfectly with sweet marshmallow and buttery dough.
- Rainbow or gold sprinkles (optional) – For extra festive flair and sparkle. Totally optional, but hard to resist.
See the recipe card below for the full list of ingredients and measurements.
How to Make Lucky Charms Cookies Step by Step
Ready to dive in? You’ll be surprised how quickly these come together. Here’s the play-by-play for turning basic ingredients into cereal-cookie gold:
- Preheat your oven so it’s nice and hot—the secret to that signature golden bottom and melty marshmallow tops.
- Line your baking sheets with parchment or a silicone mat to prevent those precious marshmallows from sticking or burning.
- Cream together the softened butter and granulated sugar until the mix is light, smooth, and fluffy. Don’t rush here—a few extra beats get you a finer crumb and tender cookie.
- Add the egg and vanilla, then whip until your mixture looks pale and pillowy. Be sure to scrape down the sides so nothing gets left behind.
- Pour in the vegetable oil and brown sugar, mixing gently until your dough takes on a deeper, caramel hue.
- Tip in the flour, baking soda, and baking powder. Blend just until the flour disappears—overmixing equals tough cookies, and nobody wants that.
- Gently stir in the white chocolate chips, Lucky Charms marshmallows, and sprinkles using a sturdy spoon or spatula. Press in a few extra marshmallows on top for a showy finish, if you’re feeling artistic.
- Scoop generous dough balls and space them out on your tray. Leave enough room for them to puff up and spread—these guys need some elbow room!
- Bake until the edges are lightly golden and the centers have just lost their gloss. The marshmallows will toast and bubble, sending out retro-cereal scents you haven’t smelled since you were a kid.
- Let your cookies cool for a few minutes on the tray—they’ll firm up a bit and lift easily without tearing. Then, move to a wire rack until fully set (if you can wait that long).
Smart Tips for Unbeatable Lucky Charms Cookies
Baking cookies is pretty forgiving, but a few small adjustments turn “good” into “irresistible.” Here’s what I’ve learned from many, many batches:
- Make sure your butter is truly soft, not melted. You want smooth, creamy dough, not greasy puddles.
- Don’t overwork the dough once the flour goes in—tough cookies are usually the result of too much mixing.
- If your marshmallows look like they’re melting out onto the tray, just nudge a few extras on top of each dough ball before baking. They’ll hold their shape better that way and make for a prettier finish.
- Ovens run differently—use visual cues! You want the edges set, but the center just barely looks wet. They’ll cook a touch more while they cool.
- Let the cookies sit on the hot baking sheet for a few minutes out of the oven. This helps them finish setting up without overbaking.
- Store leftovers in a really airtight container so the marshmallows stay crisp and lovely. After a few days, they’ll soften up, but a quick toast in a warm oven brings some life back.
- For super-sparkly party cookies, scatter extra sprinkles on top the second they come out of the oven. They’ll stick beautifully.
Fun Variations and How to Serve
These Lucky Charms Cookies are a blank canvas for all kinds of wild (or subtle) twists. Want a little more personality? Try one of these ideas:
- Swap out white chocolate chips for pastel M&Ms, milk chocolate chunks, or even butterscotch for a different kind of creamy-sweet vibe.
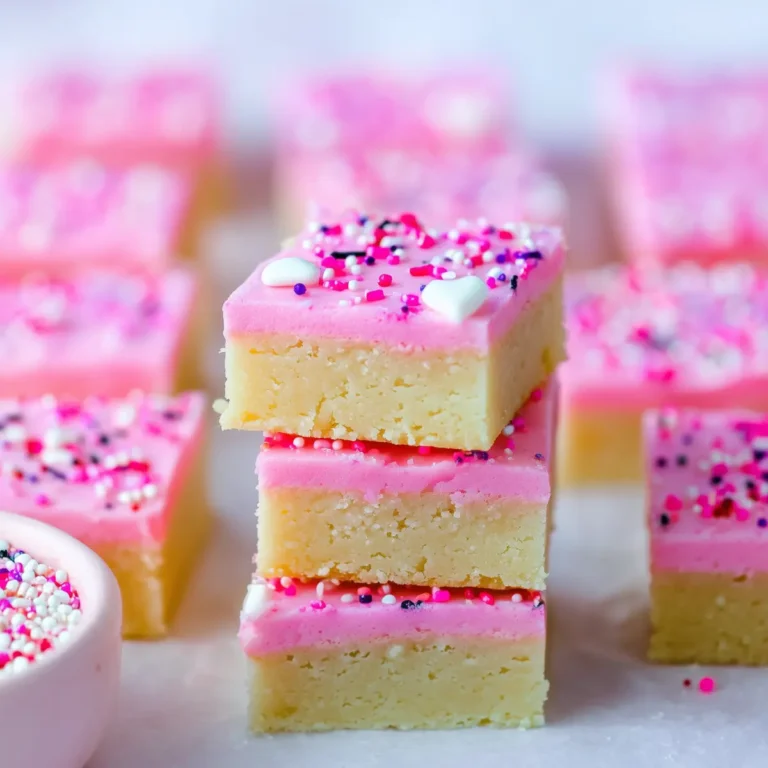
- Go bigger for a party: Bake the dough as bars in a square pan, then cut into chewy squares with marshmallows baked right on top.
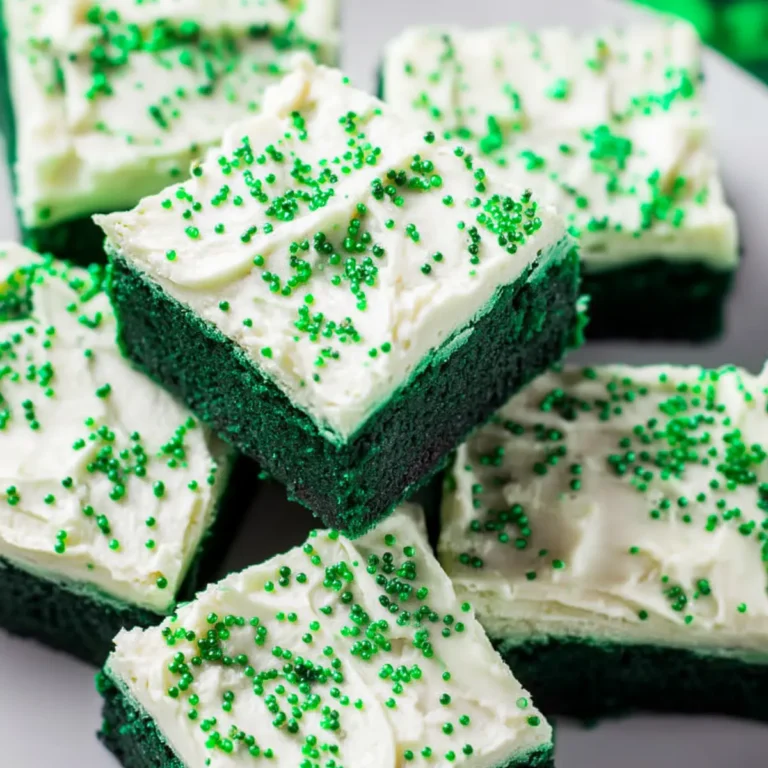
- Make them ultra-festive for St. Patrick’s Day—use just the green clover marshmallows (if you want to sort like a leprechaun) and a sprinkle of edible gold dust.
- Create DIY ice cream sandwiches using two cookies and a scoop of vanilla or fruity ice cream in the middle—colorful, cold, and totally unexpected.
- Enjoy with a tall glass of milk, a mug of hot cocoa, or a fruity tea for a backyard snack that makes you feel like a kid again.
- Store a batch in the freezer for up to a few months. When cravings strike, let a cookie thaw at room temp, or heat it very briefly in a low oven for gooey chocolate and crisped marshmallow goodness.
FAQs about Lucky Charms Cookies
How should I store Lucky Charms Cookies to keep them fresh?
You’ll get the best results by storing your cookies in a truly airtight container at room temperature. The marshmallows are happiest this way—crispy at first, gradually softening over a couple of days, but they’ll stay tasty for about a week.
Can I freeze Lucky Charms Cookies after baking?
Absolutely! Once cooled, layer your cookies with parchment or wax paper so they don’t stick, then freeze them in a sealed bag or container. They’ll taste just as magical for several months; just let one thaw (or zap in a low oven) before eating.
What can I use instead of Lucky Charms marshmallows?
If you can’t find the classic marshmallow bits, try chopped mini marshmallows, colored cereal marshmallows from baking stores, or even candy-coated chocolate pieces for a different burst of color and texture.
Why are my Lucky Charms Cookies spreading too much in the oven?
This usually happens if the butter or oil is too warm, or if the dough isn’t chilled before baking. Try popping your dough balls in the fridge for a few minutes before baking to help them stay thick and soft.
Colorful, nostalgic, and surprisingly easy, these Lucky Charms Cookies bring a dash of whimsy to any baking day. Whether you’re making a big batch for the neighborhood or teaching a little one how to bake, you’ll love the mix of buttery cookie and marshmallow sparkle. Treat yourself to a still-warm cookie with a cup of coffee—or surprise someone with a bright treat they’ll never forget. Whichever way you serve them, these Lucky Charms Cookies always bring the magic.
More Delicious Recipes
- Irish Shortbread: If you love buttery treats, these cookies pair perfectly with the nostalgic vibe of Lucky Charms Cookies.
- Irish Scones: Light and fluffy, these scones are another delightful treat that brings warmth to any baking day.
- Irish Beef Stew: For a hearty meal option, this stew is perfect when you’re looking for comfort food to accompany your sweet treats.
Lucky Charms Cookies
Ingredients
Equipment
Method
- Heat oven to 350°F (175°C).
- Line 1–2 baking sheets with parchment paper or a silicone baking mat.
- In a large bowl, beat the softened butter and granulated sugar until creamy (about 1–2 minutes). Scrape down the bowl.
- Add the egg and vanilla. Mix until light and fluffy (about 30–60 seconds). Scrape down the bowl again.
- Add the vegetable oil and brown sugar. Mix until combined.
- Add the flour, baking soda, and baking powder. Mix just until no dry flour remains (don’t overmix).
- Stir in the white chocolate chips, Lucky Charms marshmallows, and sprinkles by hand. Optional: save a few marshmallows to press on top before baking.
- Scoop dough into balls (about 2 tablespoons each) and place them 2 inches apart on the baking sheet.
- Bake 9–11 minutes, until edges are set and centers are no longer glossy.
- Cool on the baking sheet 3–5 minutes, then move to a wire rack to cool completely.
- Store in an airtight container up to 1 week (best within 2–3 days).
- Freeze up to 3 months; place parchment between cookies so they don’t stick.